Repair Drywall Ceiling Water Damage: Step-by-Step DIY Guide & Costs
Water hits the ceiling from a burst pipe, a slow plumbing drip, a roof leak during a storm, or HVAC condensation in the attic. The drywall soaks up the water like a sponge. Stains appear. Paint bubbles. The surface softens. Left untreated for more than 72 hours, mold begins growing inside the wet gypsum core.
This guide teaches you how to repair drywall ceiling water damage at every severity level: minor stains that need only primer and paint, moderate damage that needs a drywall patch, and severe damage that needs full section replacement. It covers drying, mold inspection, texture matching, plaster ceilings, costs, insurance, and who to call when the job exceeds DIY scope.
Can Water Damaged Drywall Be Repaired?
Yes, in most cases. The answer depends on how wet the drywall got, how long it stayed wet, and whether mold grew.
| Condition | Repairable? | Method |
| Stain only — drywall firm and dry | Yes — cosmetic fix | Prime + paint |
| Soft spot — small area, no sag | Yes — cut and patch | Remove soft section, patch with new drywall |
| Sagging — panel bowing downward | Yes — section replacement | Cut to joists, install new drywall |
| Mold visible on surface or back | Yes — after mold treatment | Remove affected material, treat wood, replace |
| Entire ceiling collapsed or crumbling | Yes — full replacement | Remove all damaged panels, redrywall the room |
Press the stained area with your palm. Firm and dry means cosmetic repair. Soft, spongy, or crumbly means the drywall core is compromised and that section must be cut out. Knowing how to repair drywall ceiling water damage starts with this press test.
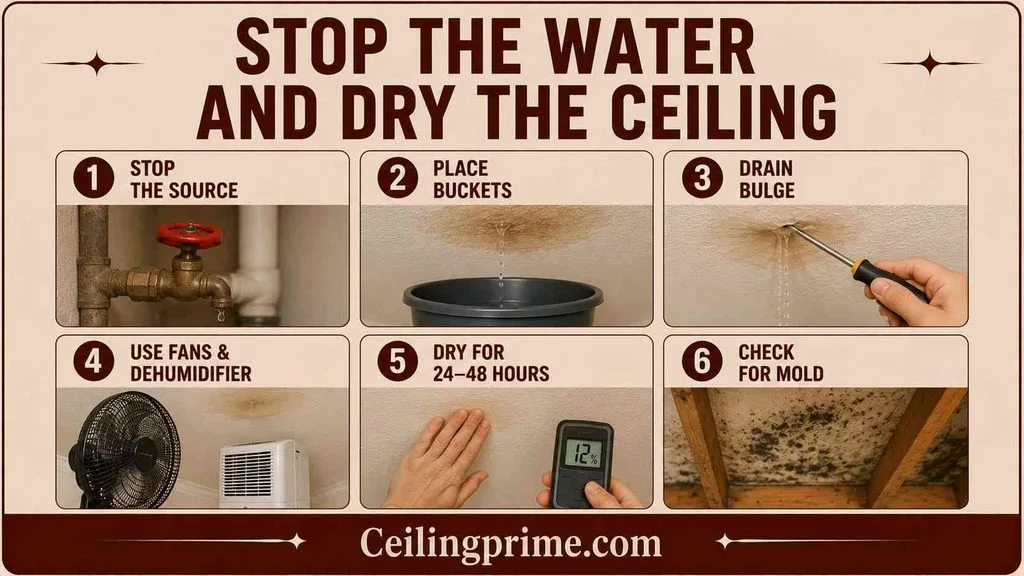
Step 1: Stop the Water and Dry the Ceiling
Every ceiling water damage repair begins with stopping the source and drying the area. Painting or patching over wet drywall traps moisture inside and causes mold.
- Find and stop the water source. Turn off the main water supply for plumbing leaks. Place a tarp over the roof for active rain leaks. Clear the HVAC condensate drain line if the drip pan is overflowing.
- Place buckets under active drips.
- If the ceiling is bulging, poke a small drain hole in the center of the bulge with a screwdriver. Aim into a bucket. This relieves water pressure and prevents collapse.
- Aim fans at the wet area. Run a dehumidifier in the room. Open windows for cross-ventilation.
- Dry for 24 to 48 hours. Check dryness by pressing with your palm. A moisture meter reading below 15% confirms the surface is dry enough to repair.
- Check for mold. If the drywall was wet more than 72 hours, inspect the back side and the joist cavity above for gray, green, or black growth. Treat mold before closing the ceiling.
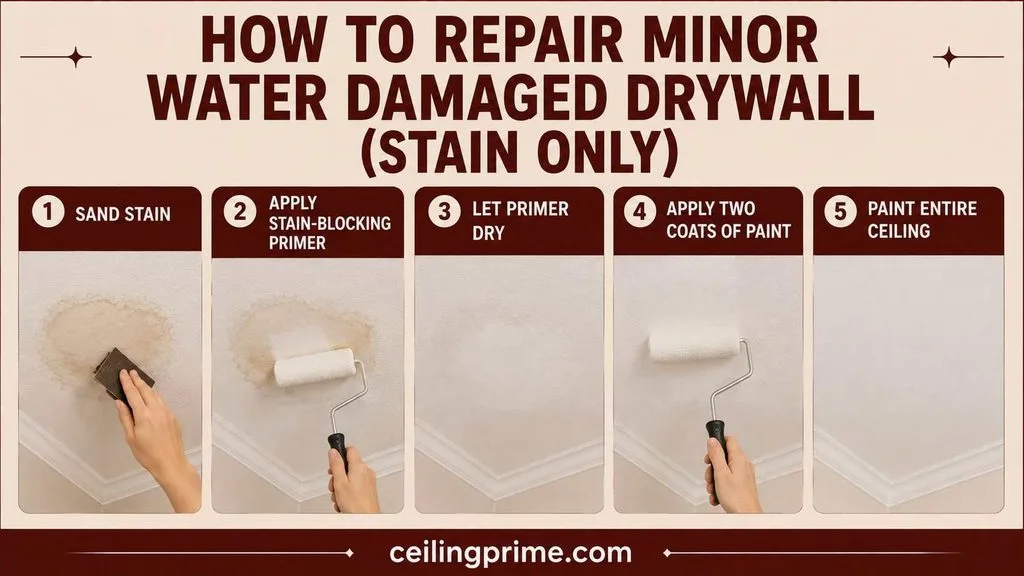
How to Repair Minor Water Damaged Drywall (Stain Only)
Minor water damage means the drywall is firm, dry, and structurally intact. The only visible problem is a brown, yellow, or ring-shaped stain. The leak has been fixed. The ceiling just needs cosmetic treatment.
- Step 1: Sand the stained area lightly with 120-grit sandpaper to remove loose paint and smooth the surface.
- Step 2: Apply stain-blocking primer over the entire stain. Extend 2 to 3 inches past the edges. Use oil-based or shellac-based primer. Regular latex primer does not block water stains — the discoloration bleeds through within days.
- Step 3: Let the primer dry 1 to 2 hours.
- Step 4: Apply two coats of flat ceiling paint. Wait 2 to 4 hours between coats.
- Step 5: For a perfect color match, paint the entire ceiling rather than spot-painting.
This repair takes 2 to 3 hours of active work plus drying time. Cost: $20 to $50 in materials. A minor water damage ceiling fix is the easiest DIY ceiling repair.
How to Fix Water Damage on Drywall Ceiling (Soft Spots or Peeling)
Moderate damage means the drywall is soft in spots, the paint is bubbling or peeling, or a small area has started to sag. The drywall paper face is damaged. Joint compound alone will not hold on a compromised surface. The damaged section must be cut out and patched.
- Step 1: Mark the damaged area. Press around the stain with your fingers. Mark where the drywall transitions from soft to firm. Extend the cut line 3 inches beyond the last soft spot.
- Step 2: Cut along the marks with a keyhole saw. If a joist falls within the damaged area, cut to the center of the nearest joists on each side. The patch screws into these joists.
- Step 3: Remove the damaged drywall. Check the joist cavity for mold, wet insulation, and active moisture.
- Step 4: Let the cavity dry completely if any moisture remains.
- Step 5: If the cut edges do not land on joists, install wood backing strips (1×3 or 2×4). Screw them to the existing drywall with half the strip extending into the opening.
- Step 6: Cut new drywall to fit the opening. Match the thickness of the existing ceiling (1/2 inch is standard).
- Step 7: Screw the patch into the joists and backing strips every 8 inches. Set each screw just below the surface.
- Step 8: Apply paper tape over all seams. Cover with 3 coats of joint compound. Feather each coat wider. Sand between coats with 120-grit.
- Step 9: Prime the entire patched area with stain-blocking primer. Paint with two coats of flat ceiling paint.
This is the standard method to patch drywall ceiling water damage. It works for areas from 1 square foot to several square feet.
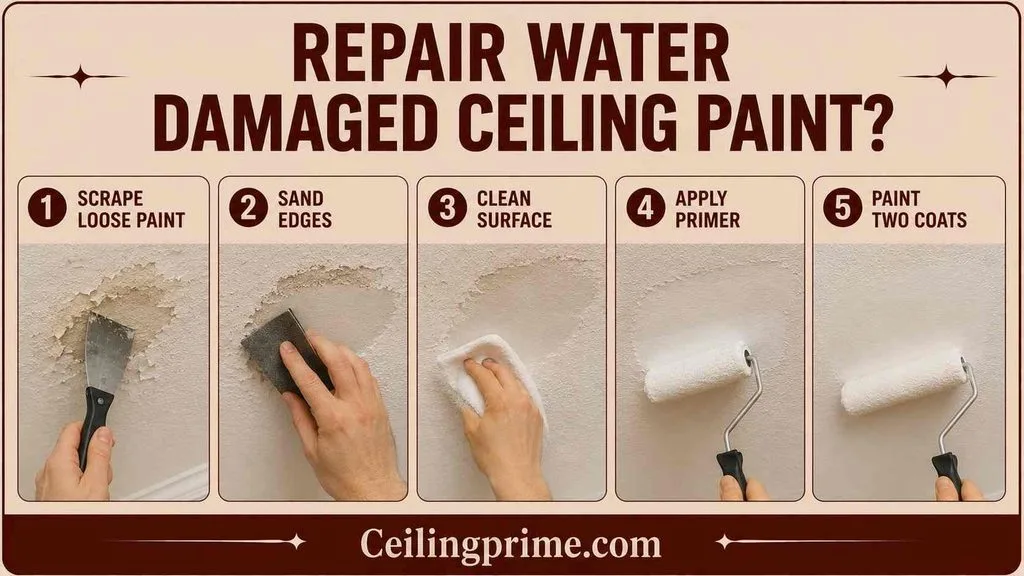
How to Repair Water Damaged Ceiling Paint?
Sometimes the water damage is limited to the paint layer only. The drywall underneath is firm and dry. The paint is bubbling, cracking, or flaking from a past moisture event.
- Scrape all loose, bubbling, and flaking paint with a 6-inch putty knife. Scrape until you reach paint that is firmly bonded.
- Sand the edges with 120-grit sandpaper to feather the border between bare drywall and existing paint.
- Clean the surface with a damp cloth. Remove all dust.
- Apply stain-blocking primer. One coat. Let dry.
- Apply two coats of flat ceiling paint.
If the paint keeps bubbling after this repair, the drywall behind it is still holding moisture. Use a moisture meter to check. A reading above 15% means the drywall is not dry yet. Wait longer before repainting.
How to Repair Water Damaged Ceiling Plaster?
Plaster ceilings (pre-1950s homes) respond differently to water than drywall. Plaster is harder and does not absorb water as fast. But when plaster does get wet, it can lose its bond to the wood lath behind it. Chunks fall. The surface crumbles.
- Small damage (stain only, plaster firm): Sand. Prime with shellac-based primer. Paint. Same as drywall cosmetic repair.
- Moderate damage (soft spots, crumbling edges): Remove loose plaster back to solid material. Dampen the edges. Fill with joint compound in thin layers. Let each layer dry before applying the next. Sand. Prime. Paint.
- Large damage (plaster falling, lath exposed): Remove all damaged plaster. Cut a drywall patch to fit the opening. Screw it into the lath or ceiling joists. Tape the seams between the drywall and surrounding plaster with mesh tape. Apply 3 coats of compound. Sand. Prime with shellac-based primer. Paint.
This is a separate skill from drywall repair. Plaster requires thinner compound coats, dampened edges, and shellac primer. If you are learning how to repair drywall ceiling water damage and discover plaster underneath, adjust your approach.
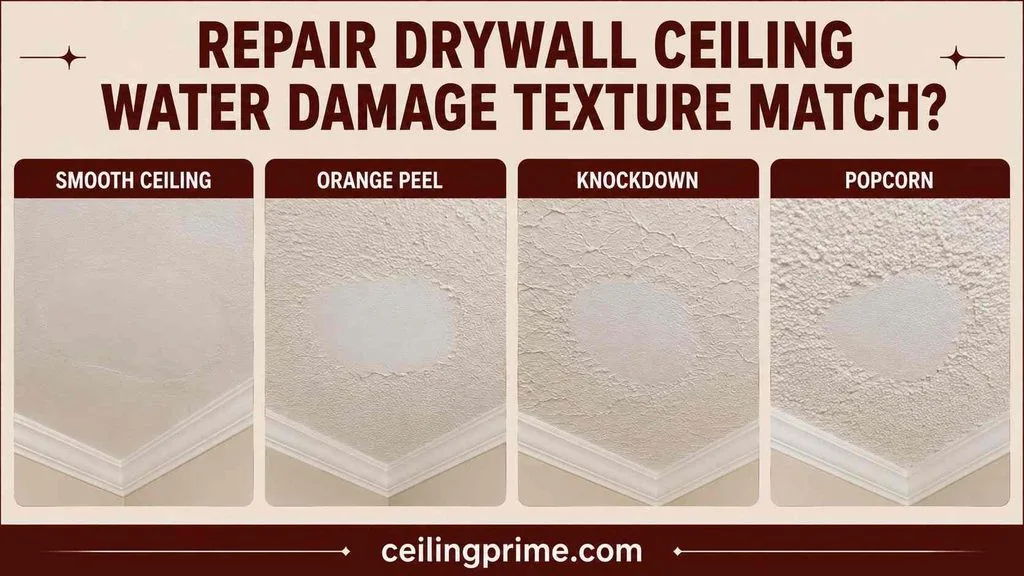
How to Repair Drywall Ceiling Water Damage Texture Match?
- Smooth ceiling: No texture to match. Sand the compound flat. Prime and paint.
- Orange peel: Spray aerosol orange peel texture on the primed patch. Let it dry. Paint.
- Knockdown: Spray texture. Wait 10 minutes. Flatten the peaks with a knockdown knife. Let it dry. Paint.
- Popcorn: Apply aerosol popcorn texture to the primed surface. Test the spray pattern on cardboard first. Let dry for 24 hours. Paint with a thick-nap roller. Do not roll wet popcorn — it pulls off.
Matching old texture perfectly is the hardest part of any ceiling repair. The patch blends better if you texture an area slightly larger than the repair. Matching is easier to learn than it sounds once you test the spray pattern first.
Repair Drywall Ceiling Water Damage Cost
| Repair Type | Cost |
| DIY cosmetic (prime + paint stain) | $20–$50 |
| DIY drywall patch (small section) | $30–$80 |
| DIY drywall replacement (large section) | $50–$150 |
| Professional ceiling drywall repair (per room) | $200–$800 |
| Professional full ceiling replacement | $800–$2,500 |
| Mold remediation (if present) | $500–$3,000 |
| Source repair — roof leak | $300–$1,500 |
| Source repair — plumbing leak | $150–$3,000 |
Source repair costs are separate from ceiling repair costs. A $30 stain fix means nothing if the $500 roof leak is still sending water through the drywall. Drywall ceiling repair cost ranges from $20 DIY to $2,500 professional depending on severity and scope.
Who to Call to Repair Drywall Ceiling Water Damage?
- Handyman: Small stains, single patches, cosmetic repairs. Cost: $75 to $200 per visit.
- Drywall contractor: Large sections, full ceiling replacement, texture matching. Cost: $200 to $800 per room.
- Water damage restoration company: Full-service drying, moisture mapping, mold testing, drywall replacement, and insurance claim coordination. Cost: $1,000 to $5,000+ depending on scope. Call this type of company when the damage covers multiple rooms or involves sewage or flood water.
- Plumber: If the source is a pipe, supply line, drain, P-trap, or fixture leak.
- Roofer: If the source is damaged shingles, failed flashing, deteriorated vent boots, or clogged gutters.
- Mold remediation specialist: If visible mold covers more than 10 square feet or you smell mold but cannot see it.
Insurance Tips When You Repair Drywall Ceiling Water Damage
Most homeowner insurance policies cover ceiling water damage from sudden, accidental events: burst pipes, storm damage, appliance failures, and plumbing breaks. They do not cover gradual damage from deferred maintenance, slow leaks you knew about, or neglected roof repairs.
- Document immediately: Photograph and video all damage before cleanup. Capture the source, the ceiling, and any personal property affected.
- File within 24 hours: Most policies require prompt notification.
- Get a professional moisture assessment: A restoration company provides a detailed damage report with moisture readings. This supports your claim.
- Do not make permanent repairs before the adjuster inspects: Make temporary fixes (tarp the roof, turn off water) to prevent further damage. Wait for the adjuster to see the ceiling before cutting out drywall or repainting.
- Keep all receipts: Emergency supplies, contractor invoices, hotel costs (if displaced), and restoration company bills may all be reimbursable.
Fix the Source, Dry the Ceiling, Then Repair the Drywall
Every project to repair drywall ceiling water damage follows the same sequence: stop the water, dry the area, check for mold, then fix the ceiling. Minor stains need primer and paint. Soft spots need a drywall patch. Sagging sections need full replacement. Match the texture. Prime with a stain blocker. And fix the source before you fix the surface.
Frequently Asked Questions
How long does it take to repair water damaged ceiling drywall?
Cosmetic repair (prime + paint): half a day. Drywall patch: 1 to 2 days including compound drying. Full section replacement: 2 to 3 days. Add 1 to 2 days if mold treatment is needed.
Can I just paint over a water stain on drywall?
Only with stain-blocking primer first. Regular paint lets the brown stain bleed through within days. Use oil-based or shellac-based primer. Prime first, then paint.
How do I know if the drywall needs to be replaced or just painted?
Press the stained area with your palm. Firm and dry = cosmetic repair (prime and paint). Soft, spongy, or crumbly = the drywall core is damaged and needs cutting out. Sagging = the panel has lost structural bond and needs replacement.
What if I see mold when I cut the drywall open?
Treat the mold before closing the ceiling. Apply a mold-killing solution to the affected joists and surrounding material. Let dry. If the mold covers more than 10 square feet, call a remediation specialist.
Is it worth hiring a professional?
For a single small stain, DIY saves $100 to $200. For large sections, multiple rooms, or mold-involved damage, a professional works faster and produces a better texture match. Water damage restoration companies handle drying, mold testing, and insurance paperwork in one service.
How much does professional ceiling drywall repair cost?
$200 to $800 per room for a drywall contractor. $1,000 to $5,000+ for a full-service water damage restoration company. The cost depends on the damage size, whether mold is present, and whether the source repair (roof or plumbing) is included.






4 Comments