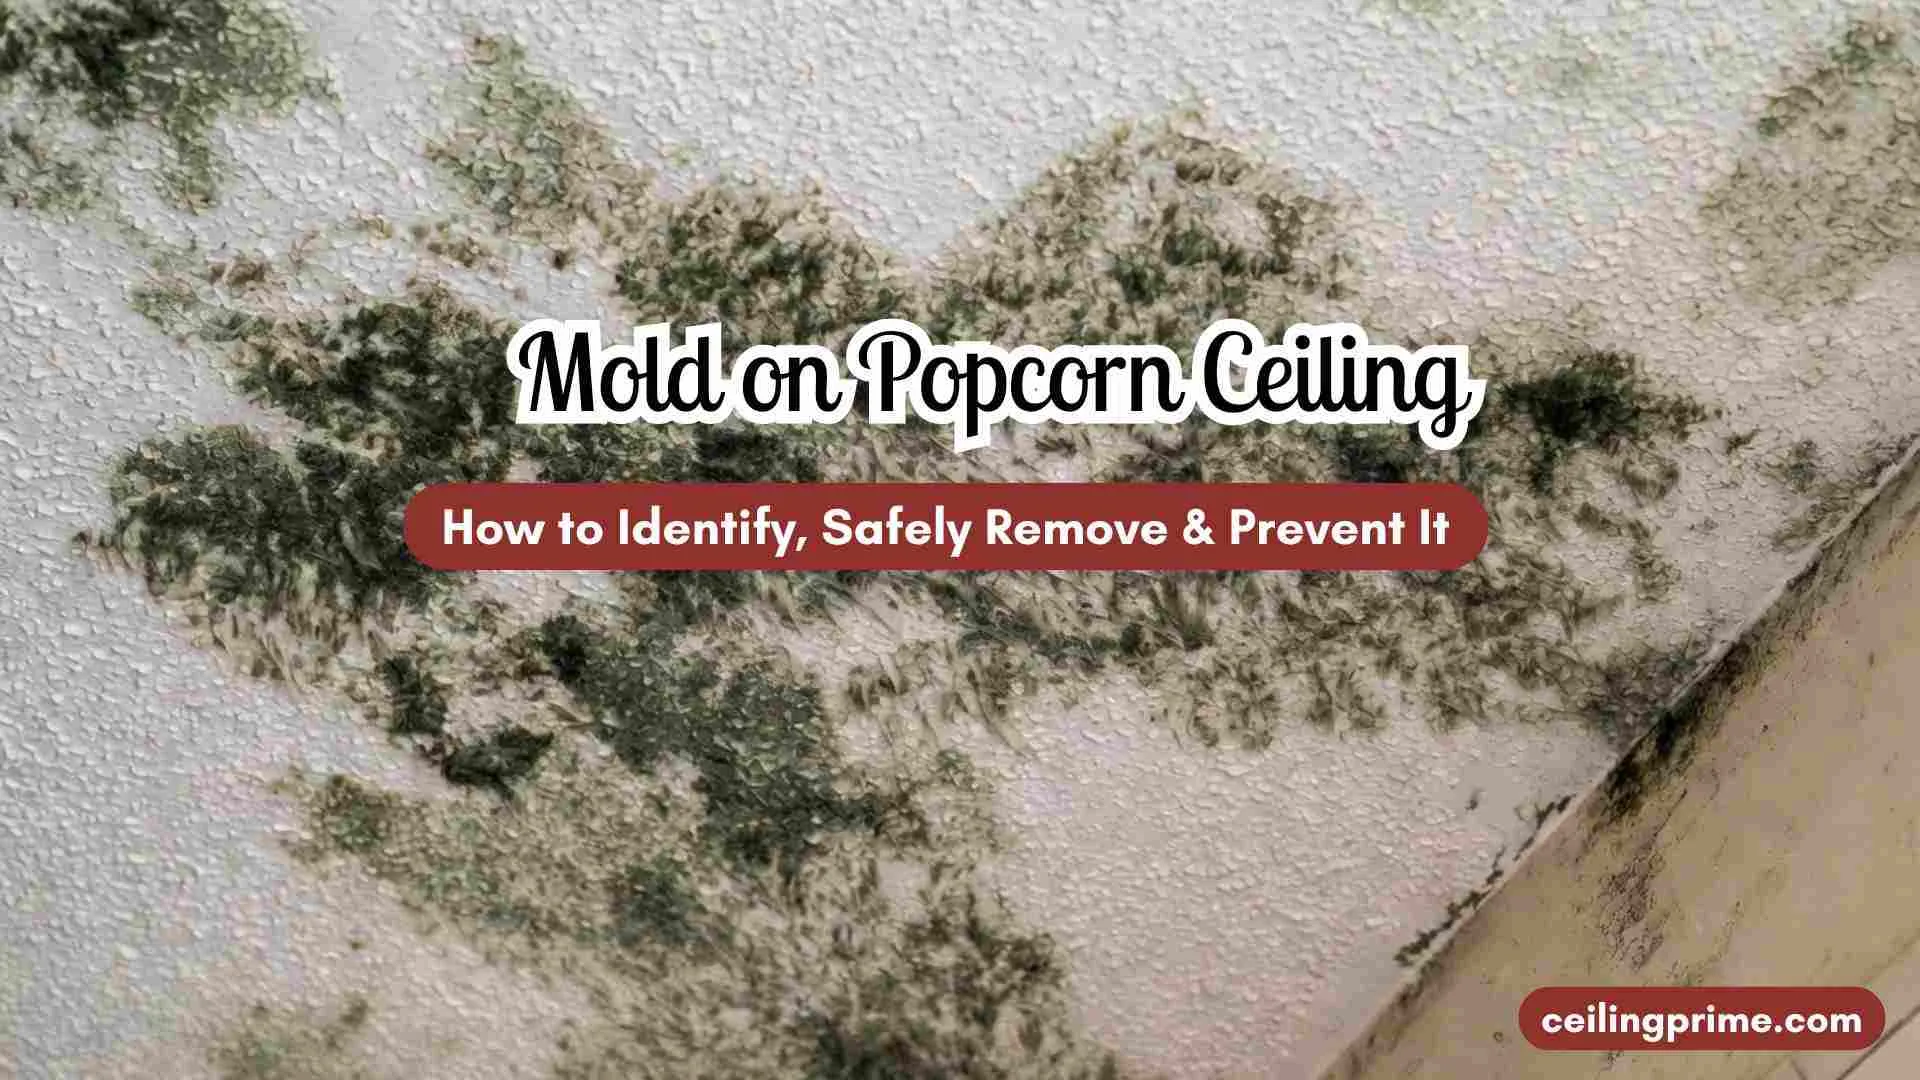
Mold on Popcorn Ceiling: How to Identify, Safely Remove & Prevent It in 2026
Popcorn ceilings were installed in millions of American homes between the 1930s and 1990. That bumpy, textured surface hid drywall flaws and reduced noise. But decades later, those same ceilings create a serious problem: mold on popcorn ceiling surfaces grows faster, hides longer, and is harder to clean than mold on flat drywall.
The rough texture traps dust, absorbs moisture, and gives mold spores thousands of tiny pockets to anchor into. A small roof leak, a bathroom without a fan, or even seasonal humidity can start a colony you will not notice for weeks.
This guide covers how to spot popcorn ceiling mold, what causes it, when you can clean it yourself, and when you need a professional. You will also find real cost numbers for 2026, asbestos warnings for pre-1980 homes, and a prevention checklist to stop regrowth. If you are a homeowner in Austin or anywhere in the U.S., this is the only resource you need.
What Are Popcorn Ceilings and Why Do They Trap Mold?
A popcorn ceiling is a textured finish applied by spraying a mixture of water, paint, and materials like Styrofoam or vermiculite onto drywall. Builders used this method from the 1950s through the 1980s because it was cheap, fast, and acoustic. The bumpy surface reduced echo and hid imperfections.
The problem is the texture itself. Each bump and valley creates a porous surface that absorbs moisture from the air. Dust settles into the crevices and never gets vacuumed out. Mold feeds on organic material carried by that dust. Add oxygen and a moisture source — a slow plumbing leak, poor attic ventilation, or a bathroom without an exhaust fan — and mold spores begin to reproduce within 24 to 48 hours.
Black mold (Stachybotrys chartarum) needs wetter conditions and typically takes 8 to 12 days of continuous dampness to establish. But common molds like Aspergillus and Penicillium can appear within two to three days on a popcorn surface, because the texture holds water longer than a smooth ceiling would.
What Does Mold Look Like on Popcorn Ceiling? (Mold vs Stains vs Mildew)
Knowing what does mold look like on popcorn ceiling surfaces saves you time and money. Mold, water stains, and mildew on popcorn ceiling surfaces can all look similar at first glance, but they require different responses.
| Sign | Appearance | Smell | Action |
| Mold | Black, green, or grey spots; fuzzy or raised texture | Musty, earthy odor | Test and remove; fix moisture source |
| Mildew | White or light grey, flat powdery film | Mild musty smell | Clean with vinegar or bleach solution |
| Water Stain | Yellowish or brown ring; no texture change | None | Find and fix leak; prime and repaint |
If you see black specks spreading outward from a central point, that is likely black mold on popcorn ceiling drywall. Discolored acoustic texture around a bathroom vent or below an attic hatch is a strong indicator of hidden water damage feeding mold growth.
What Causes Mold on Popcorn Ceiling Surfaces?
Mold needs three things: moisture, organic food, and oxygen. Your popcorn ceiling supplies two of those by default — oxygen and dust-borne organic matter. The third ingredient, moisture, comes from one of these common sources:
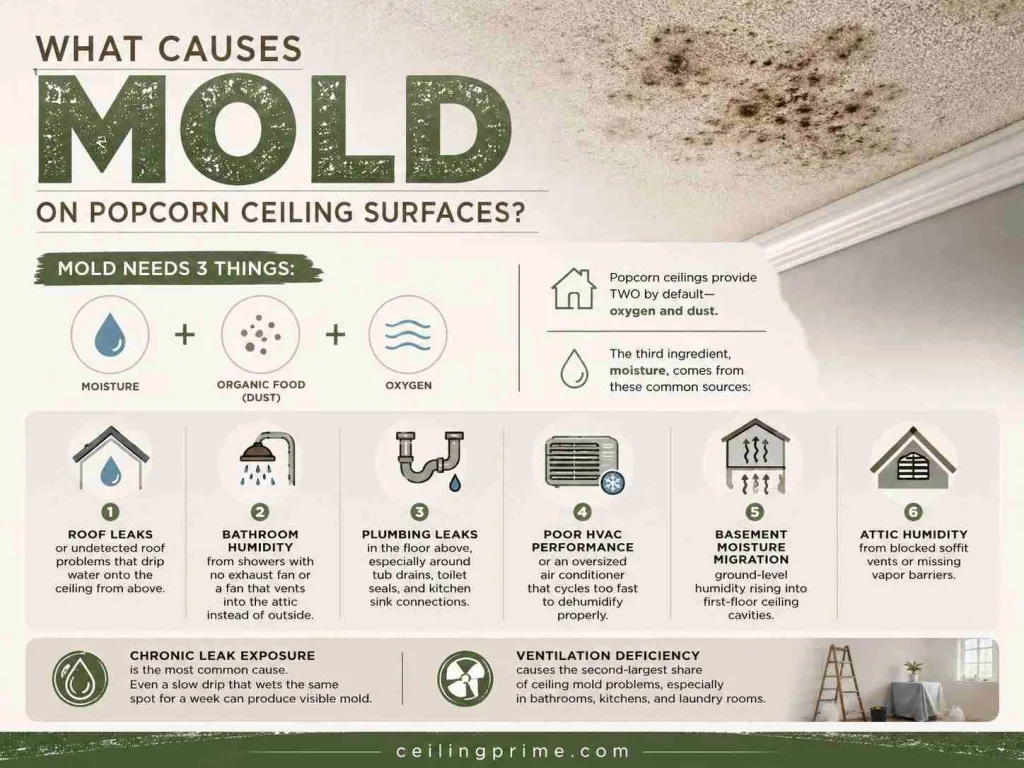
- Roof leaks or undetected roof problems that drip water onto the ceiling from above.
- Bathroom humidity from showers with no exhaust fan or a fan that vents into the attic instead of outside.
- Plumbing leaks in the floor above, especially around tub drains, toilet seals, and kitchen sink connections.
- Poor HVAC performance or an oversized air conditioner that cycles too fast to dehumidify properly.
- Basement moisture migration — ground-level humidity rising into first-floor ceiling cavities.
- Attic humidity from blocked soffit vents or missing vapor barriers.
Chronic leak exposure is the most common cause. Even a slow drip that wets the same spot for a week can produce visible mold. Ventilation deficiency causes the second-largest share of ceiling mold problems, especially in bathrooms, kitchens, and laundry rooms.
Health Risks of Mold on Popcorn Ceiling (Including Asbestos Dangers)
Mold spores become airborne when disturbed. On a popcorn ceiling, even a slight vibration — closing a door, running the HVAC system — can release spores into your living room, bedroom, or bathroom air.
Short-term exposure causes sneezing, coughing, watery eyes, skin irritation, and headaches. Long-term exposure is linked to chronic respiratory problems, lung disease, and worsened asthma. Children, elderly adults, and anyone with a weakened immune system face the highest risk.
Black mold on popcorn ceiling surfaces is especially concerning. Stachybotrys produces mycotoxins that can cause more severe reactions including persistent fatigue, difficulty concentrating, and chronic sinus infections.
If your home was built before 1980, the popcorn texture may contain asbestos. Scraping or disturbing asbestos-containing material releases microscopic fibers that cause mesothelioma, asbestosis, and lung cancer — sometimes decades after exposure. Never scrape, sand, or disturb a pre-1980 popcorn ceiling without professional asbestos testing first. The test costs $200 to $400 and involves sending a small sample to a certified lab.
How to Remove Mold from a Popcorn Ceiling (DIY Steps)
The EPA says a homeowner can handle mold cleanup when the affected area is less than 10 square feet — roughly a 3-foot by 3-foot patch. Anything larger requires a licensed mold removal specialist with containment equipment.
Safety Gear (Non-Negotiable)
- N95 respirator mask — filters 95% of airborne mold spores.
- Safety goggles without ventilation holes to keep spores out of your eyes.
- Rubber or nitrile gloves that cover your wrists.
- Old clothes you can wash immediately or throw away.
Step-by-Step Cleaning Process
- Step 1 — Identify and fix the moisture source. If the leak or humidity problem stays, mold returns within days.
- Step 2 — Ventilate the room. Open windows and run a fan pointed outward to push contaminated air outside.
- Step 3 — Prepare a cleaning solution. Mix one part bleach to five parts water in a spray bottle. For a less harsh option, use undiluted white vinegar.
- Step 4 — Spray the moldy area lightly. Do not soak the ceiling — too much water damages the drywall behind the texture and can cause the popcorn coating to peel.
- Step 5 — Wait 10 to 15 minutes. Let the solution kill the mold spores.
- Step 6 — Gently dab with a microfiber cloth or split foam roller. Do not scrub — the popcorn texture is fragile and will crumble under pressure.
- Step 7 — Dry the ceiling immediately using a fan or dehumidifier. Mold regrows on any remaining dampness.
After the area dries completely, apply a mold sealant or stain-blocking primer rated for mold resistance. This adds a protective barrier against future mold growth on the textured surface.
When to Hire a Professional Mold Removal Specialist?
Call a certified mold remediation contractor when any of these conditions apply:
- Mold contamination covers more than 10 square feet.
- You see or suspect black mold (dark greenish-black clusters with a slimy texture).
- The ceiling was installed before 1980 and has not been tested for asbestos.
- Mold has entered the HVAC system or is visible on air vents.
- Occupants report persistent allergy symptoms, headaches, or breathing problems.
- The mold keeps returning after DIY cleaning — this signals a hidden water source.
Professional mold removal follows industry-standard mold removal guidelines set by the EPA and IICRC. The process includes containment with polyethylene sheeting, negative air pressure to prevent cross-contamination, HEPA filtration, and post-remediation inspection to confirm clearance.
Encapsulation vs Full Removal: Which Option Fits Your Ceiling?
Homeowners with mold on popcorn ceiling surfaces face a choice: encapsulate (seal) the ceiling or remove it entirely.
| Factor | Encapsulation | Full Removal |
| Cost | $1 – $3 per sq ft | $2 – $6 per sq ft |
| Disruption | Low — no scraping, minimal dust | High — messy, multi-day project |
| Mold Recurrence Risk | Medium — mold can regrow under sealant if moisture returns | Low — source removed entirely |
| Asbestos Safe? | Yes — fibers stay sealed | Only with certified abatement crew |
Encapsulation works best for small mold patches on ceilings that test negative for asbestos. Full removal is the better long-term investment when the mold problem is widespread, the texture contains asbestos, or you plan to sell the home. Smooth ceilings increase property value and attract buyers who see popcorn texture as a deal-breaker.
2026 Cost Guide: Mold Remediation and Popcorn Ceiling Removal
Costs vary by the size of the affected area, whether asbestos is present, and whether you want a smooth finish after removal.
| Service | Estimated Cost (2026) |
| DIY mold cleaning (small patch) | $20 – $75 (supplies only) |
| Professional mold remediation | $10 – $25 per sq ft |
| Mold inspection and testing | $200 – $600 |
| Asbestos testing | $200 – $400 |
| Asbestos abatement (ceiling) | $5 – $20 per sq ft |
| Popcorn ceiling removal + smooth finish | $2 – $6 per sq ft |
| Full project (mold + removal + refinish, 500 sq ft) | $1,200 – $8,000+ |
Insurance coverage for mold damage depends on the cause. Most standard homeowner policies cover mold only when it results from a sudden, covered event like a burst pipe — not from long-term neglect or poor ventilation. Check your policy and document damage with photos before filing a claim.
How to Prevent Mold from Growing on Your Popcorn Ceiling?
Removing mold is half the job. Preventing regrowth is the other half. Follow this checklist:
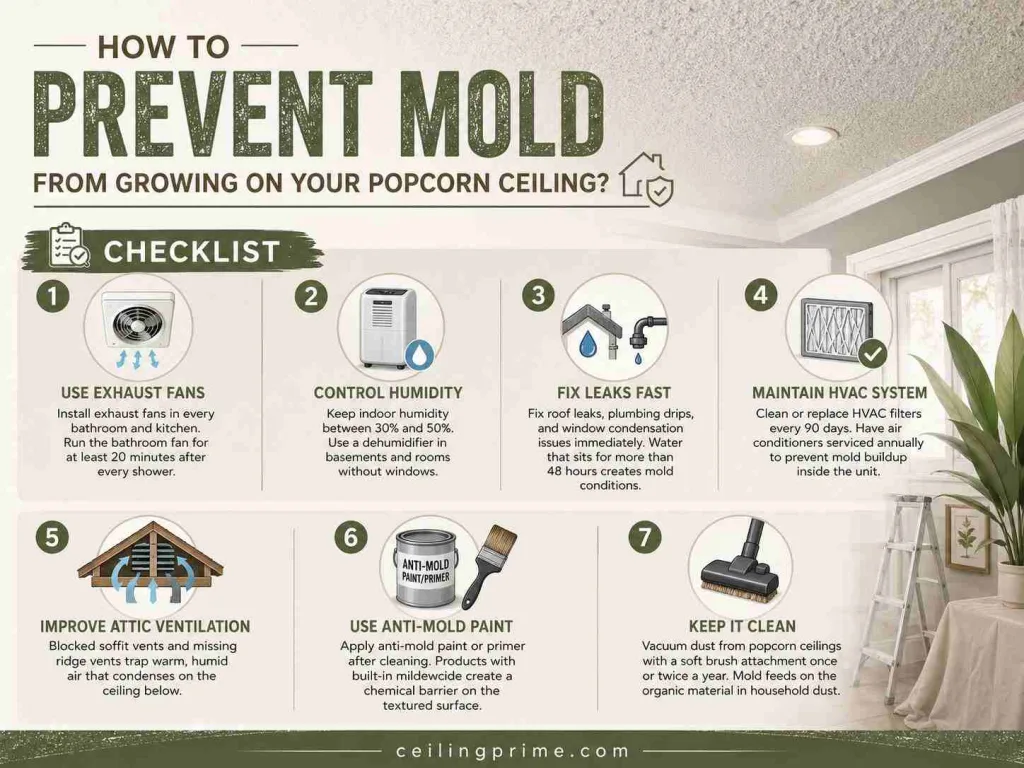
- Install exhaust fans in every bathroom and kitchen. Run the bathroom fan for at least 20 minutes after every shower.
- Keep indoor humidity between 30% and 50%. Use a dehumidifier in basements and rooms without windows.
- Fix roof leaks, plumbing drips, and window condensation issues immediately. Water that sits for more than 48 hours creates mold conditions.
- Clean or replace HVAC filters every 90 days. Have air conditioners serviced annually to prevent mold buildup inside the unit.
- Improve attic ventilation. Blocked soffit vents and missing ridge vents trap warm, humid air that condenses on the ceiling below.
- Apply anti-mold paint or primer after cleaning. Products with built-in mildewcide create a chemical barrier on the textured surface.
- Vacuum dust from popcorn ceilings with a soft brush attachment once or twice a year. Mold feeds on the organic material in household dust.
Common Mistakes When Dealing with Mold on Popcorn Ceiling
- Painting over mold without cleaning first. Paint does not kill mold — it traps moisture underneath and the mold returns within weeks, often worse than before.
- Dry scraping the ceiling. Scraping a dry, moldy popcorn ceiling launches mold spores and potentially asbestos fibers into the air. Always wet the surface first.
- Using bleach on porous surfaces as a permanent fix. Bleach kills surface mold but does not reach spores embedded deep in the textured material. The mold issue returns if the moisture source is not corrected.
- Ignoring musty odor detection. A persistent earthy smell in a room — even without visible spots — signals hidden mold growing behind or above the ceiling.
- Skipping asbestos testing on pre-1980 ceilings. Disturbing asbestos is a federal health violation and exposes your family to cancer-causing fibers.
Modern Ceiling Alternatives After Mold Removal
After removing popcorn ceiling mold and the textured surface itself, homeowners choose from several modern finishes. A smooth flat finish is the most popular option in 2026 — it reflects light evenly, does not trap dust, and resists mold better than any texture.
Knockdown texture provides a subtle pattern with less dust-trapping surface area than popcorn. Stretch ceilings are moisture-resistant membranes that install below the existing ceiling — a good option when asbestos abatement is too expensive. Wood planks and coffered ceilings add character but cost more.
Whichever finish you choose, apply a mold-resistant primer before the final paint. This step costs $0.50 to $1.50 per square foot and significantly reduces the chance of recurring mold growth.
Frequently Asked Questions
Q. Can mold grow on popcorn ceiling surfaces that look clean?
Yes. Mold spores are microscopic. A ceiling can harbor early-stage mold before any visible spots appear. A musty smell in the room is often the first indicator. A professional mold test confirms what your eyes cannot see.
Q. Can I paint over mold on a popcorn ceiling?
No. Painting over mold traps the growth underneath. The mold continues spreading behind the paint film. Clean the mold first, dry the surface, then apply a mold-blocking primer before repainting.
Q. Does popcorn ceiling mold always mean asbestos?
Not always. Asbestos was a common ingredient in popcorn ceiling mixtures before 1980. Ceilings installed after 1990 are very unlikely to contain asbestos. The only way to confirm is a lab test on a small sample.
Q. How long does professional mold and popcorn ceiling removal take?
A single room (150 to 200 sq ft) typically takes one to two days for mold remediation plus popcorn removal and skim coating. A full-house project (1,000+ sq ft) can take five to seven business days.
Q. Will homeowners insurance cover mold on popcorn ceiling damage?
It depends on the cause. Sudden events like a burst pipe are usually covered. Gradual damage from poor ventilation or deferred maintenance is almost never covered. File a claim quickly and provide photo documentation.
Q. What should renters do about mold on popcorn ceiling in a rental?
Document the mold with photos and notify the landlord in writing. Landlords in most states must address mold that affects habitability. If the landlord does not respond, tenants can contact local code enforcement or consult tenant rights resources in their state.
Q. What kills mold on popcorn ceiling without damaging the texture?
A 1:5 bleach-to-water spray applied lightly and dabbed — not scrubbed — is the safest DIY method. Undiluted white vinegar is a less harsh option. In both cases, spray gently, wait 10 to 15 minutes, dab with a soft cloth, and dry immediately with a fan.
Protect Your Home — Take Action on Mold Today
Mold on popcorn ceiling surfaces is not a cosmetic issue you can ignore. It threatens your indoor air quality, your family’s health, and your property value. The fix starts with identifying the moisture source, choosing the right removal method for the size of the problem, and following up with prevention measures that keep mold from returning.
If the affected area is small, the DIY steps in this guide will solve the problem. If the mold covers more than 10 square feet, if you suspect asbestos, or if the growth keeps returning, hire a qualified mold removal specialist and get a professional mold assessment before the damage spreads.






One Comment