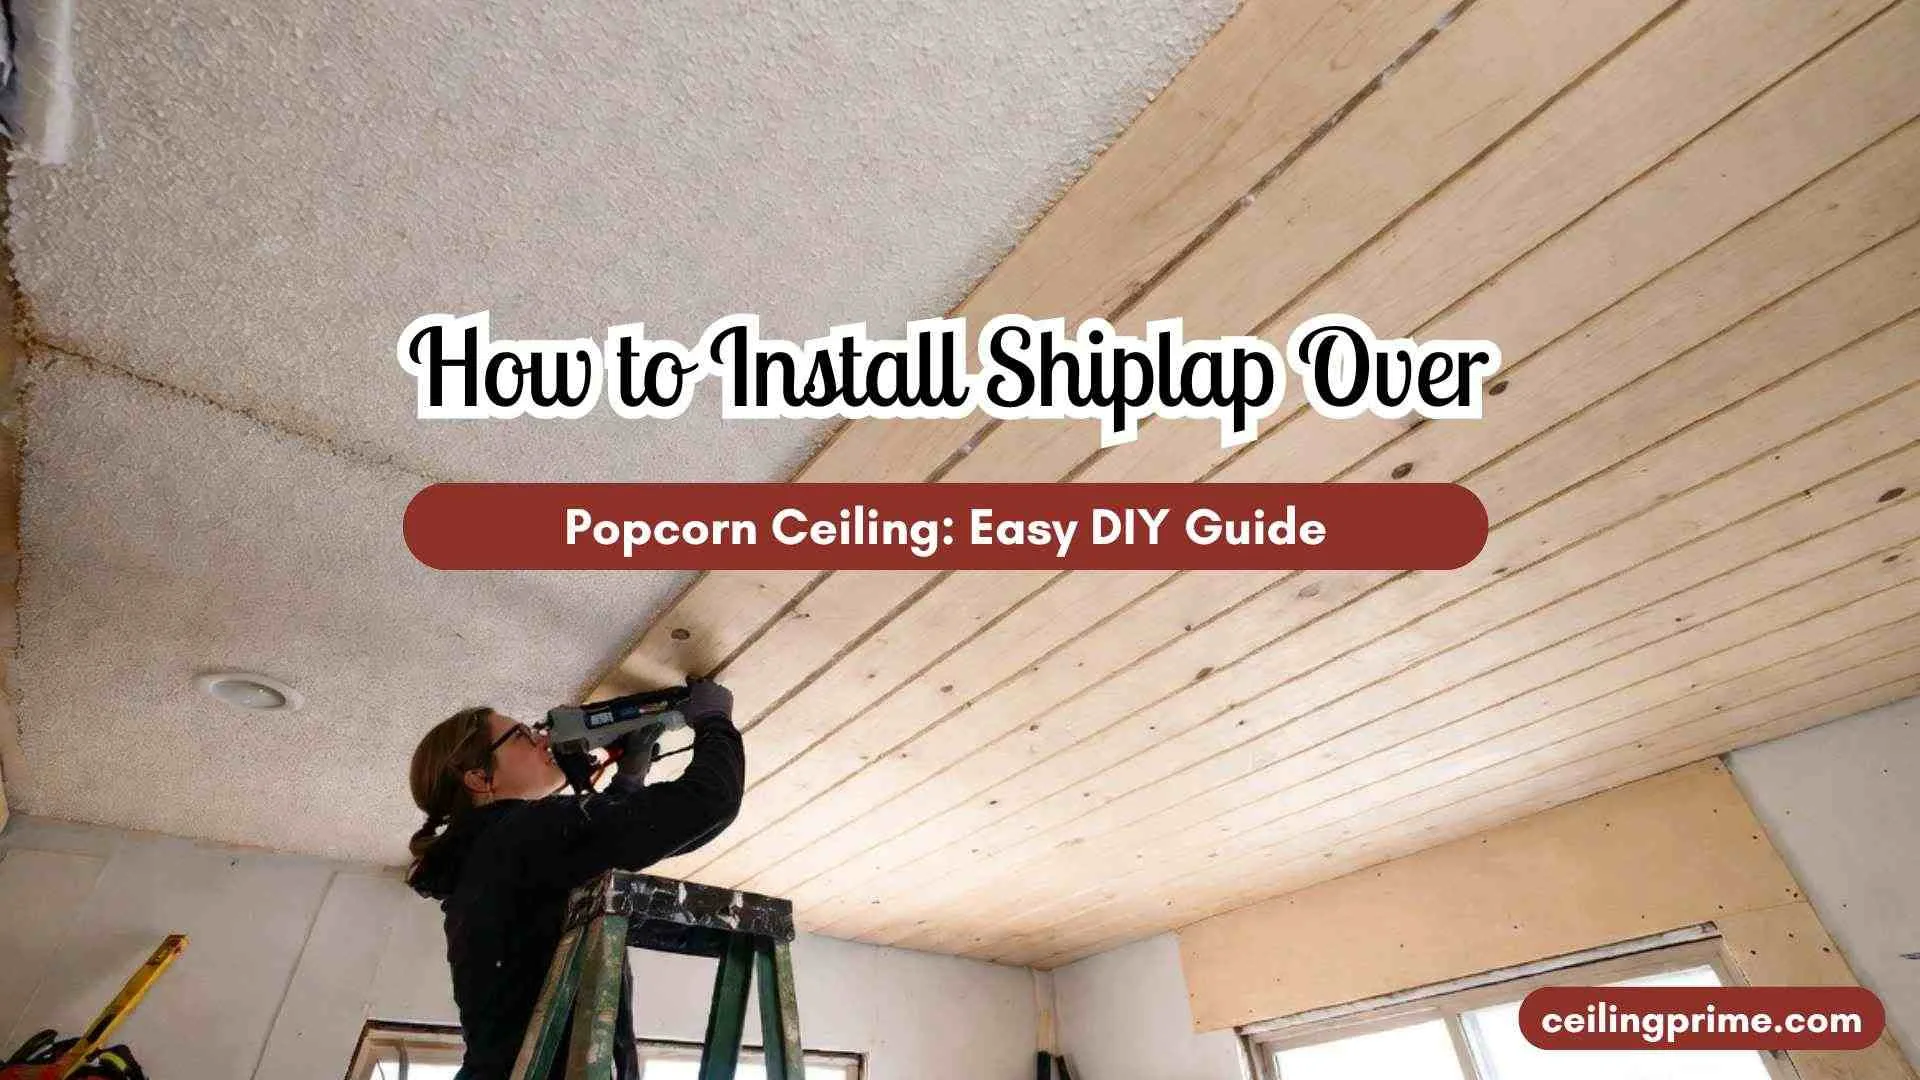
How to Install Shiplap Over Popcorn Ceiling: Easy DIY Guide, Pros & Cons
Installing shiplap over popcorn ceiling is the fastest way to turn an ugly, dated textured ceiling into a clean, modern surface without the dust storm of scraping. The planks go right on top of the existing texture. No removal. No mess. And the result transforms the entire room.
Shiplap adds character, hides imperfections, improves insulation, and works with farmhouse, coastal, and modern interior styles. The project costs $500 to $3,000 depending on room size and material choice. A single room takes one to two days for most DIY homeowners.
This guide covers why shiplap works over popcorn, safety checks (including asbestos), the tools and materials you need, a full step-by-step installation process, costs, common mistakes, and alternatives. If you have a nail gun and a weekend, you can do this.
Why Install Shiplap on a Popcorn Ceiling?
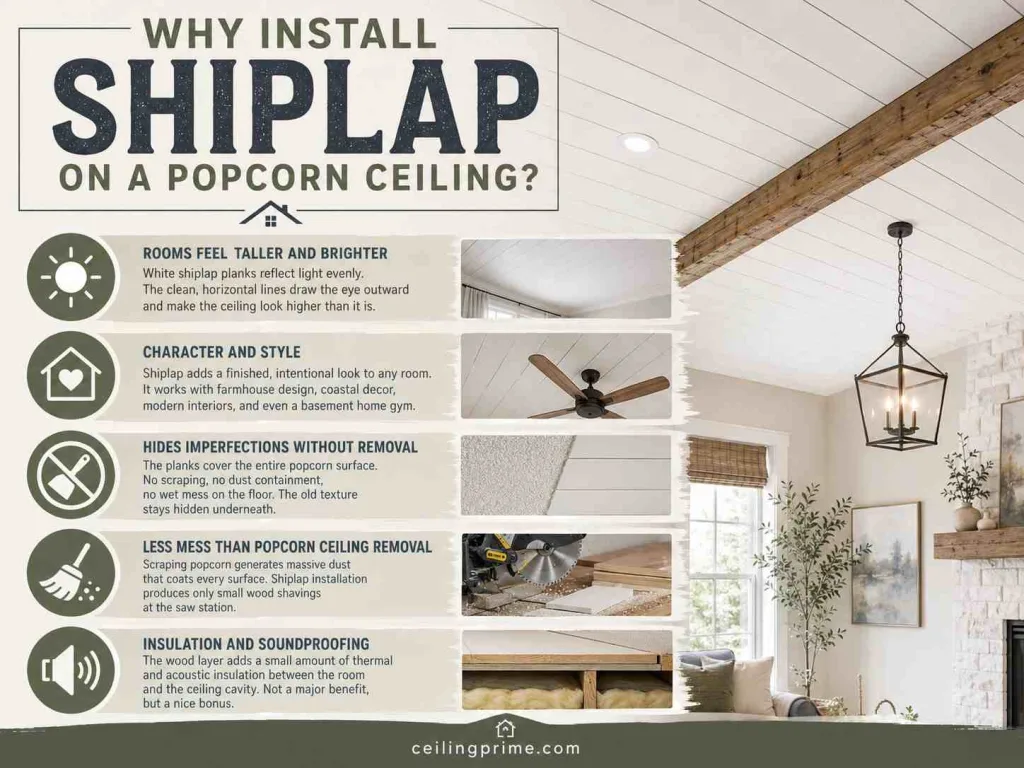
- Rooms feel taller and brighter: White shiplap planks reflect light evenly. The clean, horizontal lines draw the eye outward and make the ceiling look higher than it is.
- Character and style: Shiplap adds a finished, intentional look to any room. It works with farmhouse design, coastal decor, modern interiors, and even a basement home gym.
- Hides imperfections without removal: The planks cover the entire popcorn surface. No scraping, no dust containment, no wet mess on the floor. The old texture stays hidden underneath.
- Less mess than popcorn ceiling removal: Scraping popcorn generates massive dust that coats every surface. Shiplap installation produces only small wood shavings at the saw station.
- Insulation and soundproofing: The wood layer adds a small amount of thermal and acoustic insulation between the room and the ceiling cavity. Not a major benefit, but a nice bonus.
Can You Install Shiplap Directly on Popcorn Texture?
Yes. Shiplap attaches to ceiling joists through the existing popcorn. The texture stays in place and is completely hidden. You do not carry weight on the popcorn surface — the joists support everything.
Shiplap Over Popcorn Ceiling: Pros and Cons
| Pros | Cons |
| No scraping or removal needed | Lowers ceiling height by 0.5–0.75 inches |
| Adds visual interest and character | Requires finding and nailing into ceiling joists |
| Covers all imperfections instantly | Cutting around fixtures, vents, and smoke detectors takes time |
| $500–$3,000 depending on room size | Pre-painted material costs more than raw planks |
| Weekend project for most rooms | Heavier than some alternatives (drywall overlay, tiles) |
Safety: Asbestos Testing Before Any Work
Homes built before the 1980s may have asbestos in the popcorn texture. Nailing through the ceiling to reach joists penetrates the texture and can disturb asbestos fibers. Before starting any shiplap over popcorn ceiling project, test for asbestos.
DIY kits cost $40–$150. Professional Asbestos testing runs $250–$850. If positive, use construction adhesive only (no nails through the surface) or hire a licensed abatement contractor to remove the popcorn before installing shiplap.
Tools and Materials for a Shiplap Ceiling Project
Tools:
- Mitre saw — for cutting planks to length.
- Jigsaw — for cutting around light fixtures, vents, and odd shapes.
- Brad nailer with 1.25-inch brad nails — for securing planks to joists.
- Pin nailer with 1.5-inch pin nails — for tacking planks at edges and joints.
- Stud finder — for locating ceiling joists.
- Laser measuring tape and speed square — for accurate layout.
- Leveling tool — for keeping the first row perfectly straight.
- Caulk gun, drywall knife, and prybar — for finishing and corrections.
Materials:
- Shiplap planks: 5 1/2-inch Metrie Complete Polar White Shiplap (pre-painted) eliminates the painting step. Raw pine or MDF shiplap costs less but requires priming and two coats of paint. Order 10–15% extra for cuts and waste.
- Construction adhesive: PL Premium or similar heavy-duty adhesive applied to the back of each plank for extra hold.
- Metrie Complete Finishing Kit: Includes wax crayon and buffing pad for filling nail holes with a color-matched finish.
- Metrie Complete Quarter Round trim: Covers the gap between shiplap and walls for a clean edge.
- Metrie Complete Caulk: Seals the trim joints for a finished look.
- Crown molding (optional): Adds an extra design detail at the wall-ceiling border.
- Painters tape, clamps, and utility knife for layout and fitting.
Furring Strips vs Direct Install
If the popcorn ceiling is very uneven or wavy, install furring strips (1×3 or 1×4 boards) across the ceiling first, screwed into the joists. The furring strips create a flat, level grid that the shiplap nails into. This adds about 3/4-inch to the ceiling drop but produces a much flatter result. If the ceiling is relatively flat, you can nail shiplap directly into the joists through the popcorn.
Plan Your Layout Before You Start
- Measure the space: Calculate the ceiling area in square feet. For a shiplap over popcorn ceiling project on a ceiling that is 145 inches long and 63 inches wide, Hana used 28 boards of 5 1/2-inch Metrie Complete Polar White Shiplap.
- Decide board direction: Run the planks perpendicular to the ceiling joists for maximum stability. Shiplap running the length of a room makes it look longer. Running across the width makes it look wider.
- Plan for fixtures: Map the locations of light fixtures, ceiling fans, smoke detectors, air vents, and TV mounts. You will cut openings for each one with a jigsaw.
- Electrical adjustments: Shiplap lowers the ceiling surface by about 1/2 to 3/4 inch. You may need to extend electrical boxes for recessed lights and flush-mount fixtures so they sit level with the new surface.
Shiplap Ceiling Cost Breakdown (2026 Prices)
| Item | Cost Range (2026) |
| Pre-painted shiplap (Metrie Complete) | $3–$5 per sq ft |
| Raw pine or MDF shiplap (unfinished) | $1.50–$3 per sq ft |
| Construction adhesive + nails | $20–$50 |
| Trim, caulk, finishing kit | $30–$80 |
| Tools (if buying new) | $150–$400 |
| Single room (120–150 sq ft) | $500–$1,200 DIY |
| Basement multi-use space (like Hana’s home gym) | ~$3,000 total |
| Professional installation | $5–$8 per sq ft (labor + materials) |
Hana’s basement home gym ceiling project cost about $3,000 total using Metrie Complete pre-painted Polar White shiplap. The pre-painted option costs more upfront but saves an entire day of priming and painting. Budget projects using raw plywood ripped into strips can be done for $500–$700 per room.
Step-by-Step: Install Shiplap on Your Popcorn Ceiling
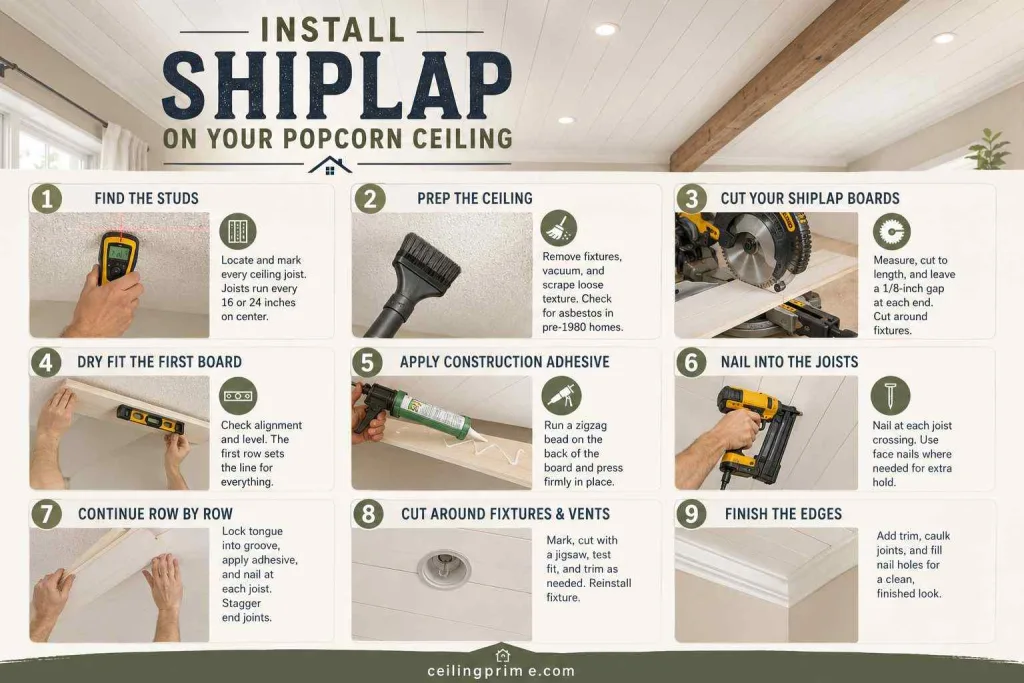
Step 1 — Find the Studs
Use a stud finder to locate every ceiling joist. Mark each joist with a chalk line across the full width of the ceiling. The shiplap planks must nail into the joists — not the drywall alone. Joists run every 16 or 24 inches on center.
Step 2 — Prep the Ceiling
Remove all light fixtures, vent covers, ceiling fan blades, and smoke detectors. Lightly vacuum the popcorn surface to remove loose dust and cobwebs. If the popcorn is falling off in places, scrape loose sections with a drywall knife so the shiplap sits flat. Check for asbestos before scraping anything in a pre-1980 home.
Step 3 — Cut Your Shiplap Boards
Measure the ceiling length at multiple points (ceilings are rarely perfectly square). Cut boards to length with a mitre saw. Leave a 1/8-inch gap at each end for expansion. Cut around light fixture locations with a jigsaw — mark conservatively and trim more later if needed.
Step 4 — Dry Fit the First Board
Hold the first board against the ceiling along the starting wall without adhesive or nails. Check alignment with a leveling tool. The first row sets the line for every board that follows. If it is not level, every subsequent row will be crooked. Use a speed square to verify right angles against the wall.
Step 5 — Apply Construction Adhesive
Load construction adhesive into the caulk gun. Run a zigzag bead across the back of the board. The adhesive bonds the shiplap to the popcorn surface for extra hold between joists. Press the board firmly against the ceiling.
Step 6 — Nail Into the Joists
Use the brad nailer with 1.25-inch brad nails to secure the board at each joist crossing. Drive nails through the tongue edge of the plank to hide them behind the next row. Add a few face nails (pin nails) where the board feels loose between joists — especially on heavy popcorn texture where the adhesive bond is uneven.
Step 7 — Continue Row by Row
Lock the tongue of the next board into the groove of the installed board. Apply adhesive and nail at each joist. Stagger end joints so no two adjacent rows end at the same point. Use clamps to hold boards tight against the ceiling while nailing.
Step 8 — Cut Around Fixtures and Vents
Hold the board up to the fixture opening and mark the cut line. Cut with a jigsaw. Test fit. Trim more if needed. Reinstall the fixture through the shiplap once the board is secured.
Step 9 — Finish the Edges
Install Metrie Complete Quarter Round trim along the wall-ceiling border to cover the expansion gap. Caulk all trim joints with Metrie Complete Caulk. Add crown molding for a more finished look. Fill nail holes with the Metrie Complete Finishing Kit wax crayon — rub the crayon over the hole and buff smooth with a buffing pad.
Common Mistakes When Installing Shiplap on Textured Ceilings
- Skipping the stud finder: Nailing only into drywall causes planks to sag and pull away within months. Always nail into ceiling joists.
- Not leveling the first row: One crooked board throws off the entire ceiling. Check with a level before nailing anything.
- Cutting fixture holes too large: Cut conservatively. You can always trim more. Hana learned this the hard way on her first light fixture cut.
- Ignoring asbestos in pre-1980 homes: Nailing through asbestos-containing popcorn releases fibers. Test before drilling or nailing.
- Skipping construction adhesive: Brad nails alone do not hold planks tight against an uneven popcorn surface. The adhesive fills gaps and adds grip.
- Not pre-painting the grooves: If you are using raw shiplap, paint the tongue-and-groove edges before installation. Post-install painting misses the recessed channels where the boards overlap.
Other Options Besides Shiplap for Covering Popcorn Texture
| Option | Cost per sq ft | Pros | Cons |
| Shiplap | $1.50–$5 | Character, warmth, no removal | Weight, fixture cutting |
| Tongue and groove | $2–$6 | Tighter fit, less gap | More expensive, harder to cut |
| Beadboard panels | $2–$4 | Lightweight 4×8 sheets, fast install | Less character than planks |
| Plywood planks | $1–$2.50 | Cheapest option, customizable width | Requires priming and painting |
| Skim coat | $0.50–$1.50 | Smooth finish, no height loss | Messy, requires skill |
| Drywall overlay | $2–$5 | Smooth, permanent, like new construction | Heavy, needs taping and mudding |
Frequently Asked Questions
Q. Can you install shiplap on a popcorn ceiling without removing the texture?
Yes. Shiplap attaches to the ceiling joists through the existing popcorn. The texture stays in place and is completely hidden. No scraping or removal needed.
Q. Do you need furring strips for shiplap over popcorn ceiling?
Only if the ceiling is very uneven. Furring strips create a flat grid that produces a smoother result. If the ceiling is relatively flat, nail directly into the joists.
Q. How much does shiplap over popcorn ceiling cost?
$500 to $3,000 DIY depending on room size and material. Pre-painted Metrie Complete shiplap costs $3–$5 per square foot. Raw pine or MDF runs $1.50–$3. Professional installation adds $5–$8 per square foot for labor.
Q. What is the best shiplap material for ceilings?
Metrie Complete pre-painted Polar White shiplap is the best option for speed and finish quality. The boards come ready to install with no priming or painting. For budget projects, 1/4-inch plywood ripped into 6-inch strips works well but requires two coats of paint.
Q. Is shiplap over popcorn ceiling good for resale value?
Yes. A shiplap ceiling adds visible character and covers an outdated texture that lowers perceived home value. Buyers see shiplap as a finished, intentional design choice — not a cover-up.
Q. How long does DIY shiplap ceiling installation take?
One to two days for a standard room (120–150 square feet). Larger spaces like a basement or multi-room project can take a full weekend. The cutting and fitting around fixtures accounts for most of the time.