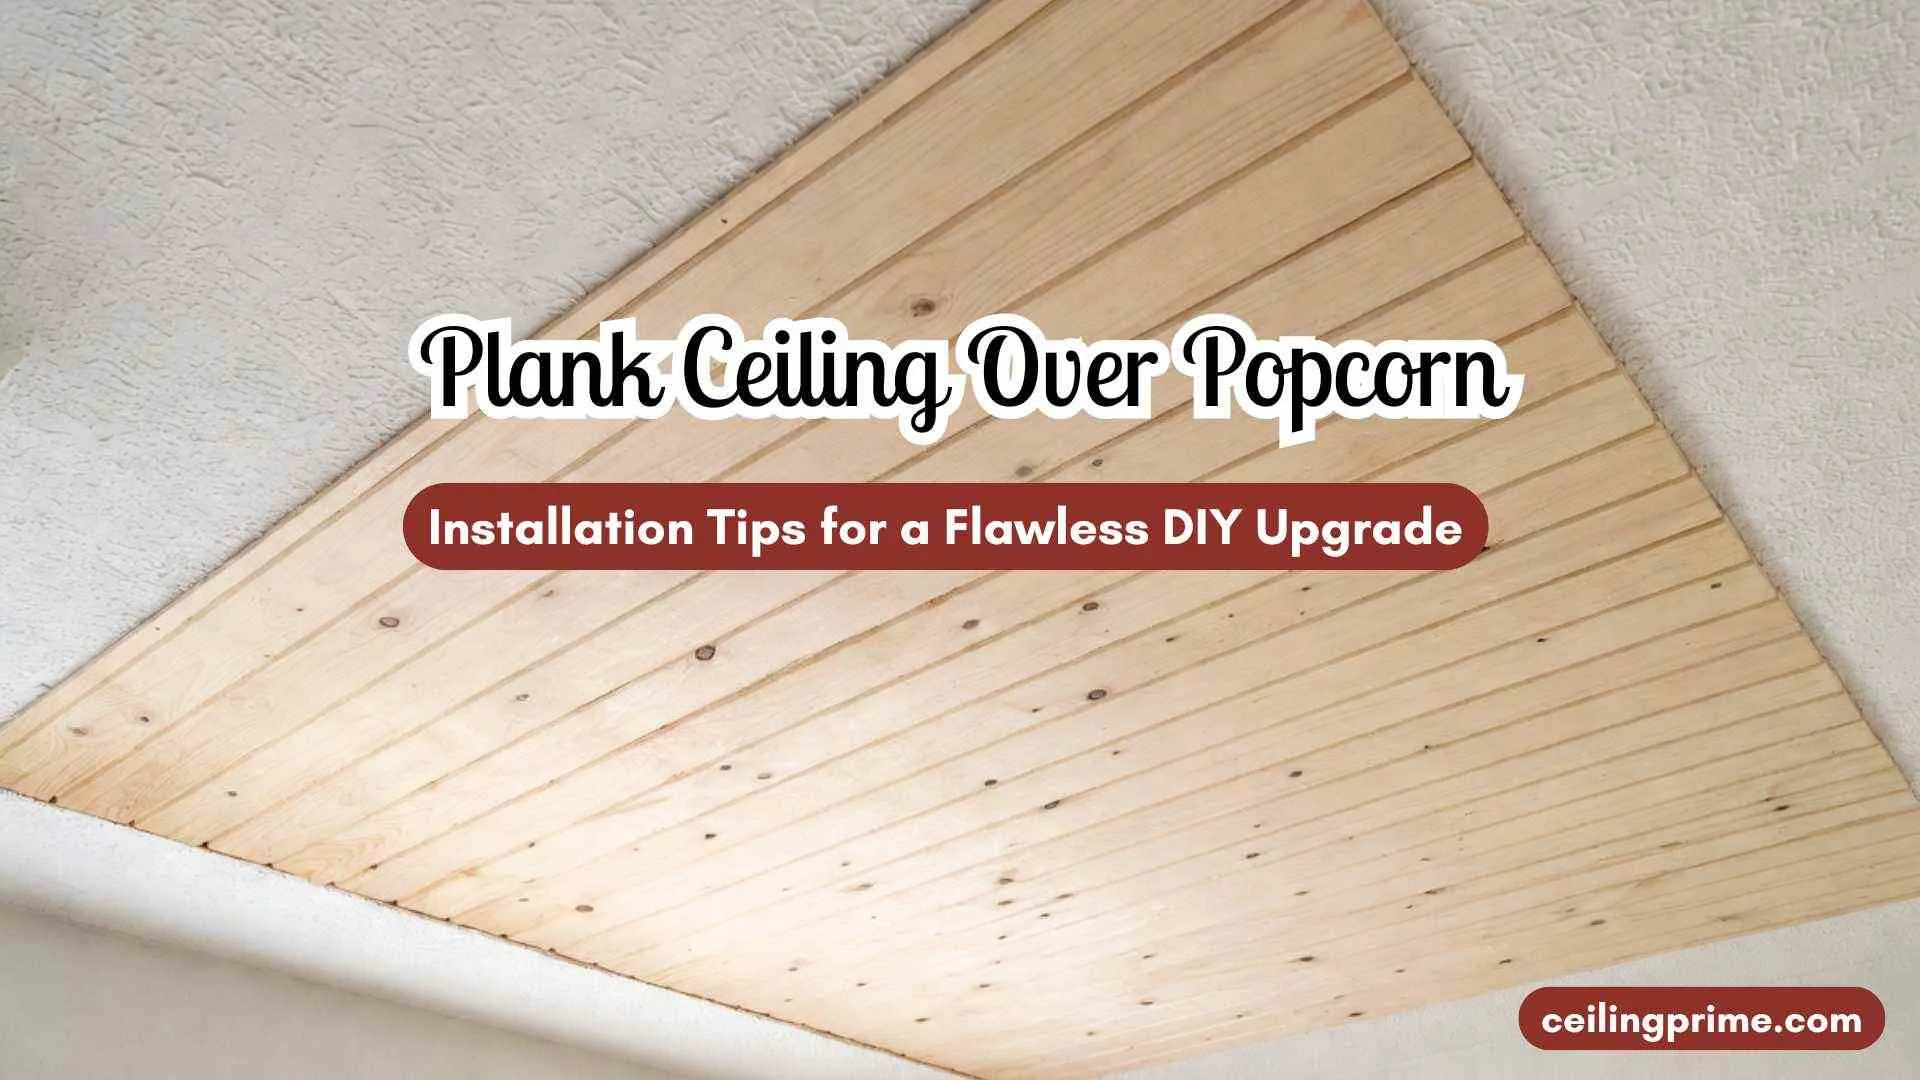
plank ceiling over popcorn: Installation Tips for a Flawless DIY Upgrade
A plank ceiling over popcorn is one of the fastest, cleanest ways to hide dated texture and add real character to a room. No scraping. No dust cloud. No wet mess on the floor. The wood planks go directly on top of the existing popcorn surface, nailed into the ceiling joists, and the old texture stays hidden underneath.
Popcorn ceilings were standard in homes built from the 1950s through the 1980s. The bumpy texture hides drywall flaws but traps dust, darkens rooms, and signals “outdated” to buyers. Removing it is messy and expensive — especially in pre-1980 homes where asbestos may be present. Installing ceiling planks over the top skips all of that and gives you a finished, modern ceiling in a single weekend.
This guide covers the best plank options for 2026, the full tools and materials list, step-by-step installation, three different attachment methods, costs, common mistakes, and alternatives.
Why a Plank Ceiling Over Popcorn Beats Removal?
- Hides imperfections permanently: Wood ceiling planks cover the entire popcorn surface. Every crack, stain, and crumbling spot disappears.
- Adds character: A wood planked ceiling creates a farmhouse, coastal, or modern aesthetic that flat drywall cannot match.
- Less mess than removal: Popcorn ceiling removal generates massive dust. A plank ceiling over popcorn produces only small wood shavings at the saw station.
- Avoids asbestos risk: Covering the popcorn without scraping it means you do not disturb potentially asbestos-containing material. Nailing through the surface creates minimal disturbance compared to wet scraping.
- Faster and cheaper: A single room takes one to two days. Removal and refinishing takes three to five days for the same space.
Best Ceiling Plank Options for Covering Popcorn in 2026
| Plank Type | Cost/sq ft | Weight | Pre-Finished? | Best For |
| Pine tongue and groove (3.5” or 3.25”) | $1.50–$3 | Medium | No — needs primer + paint | Bedrooms, living rooms |
| Knotty spruce pine edge v-plank wall boards | $2–$4 | Medium | Some options | Farmhouse, rustic rooms |
| Cedar planks | $3–$8 | Medium | No — can stain or leave raw | Bathrooms, sitting rooms |
| Armstrong WoodHaven MDF planks | $3–$5 | Light | Yes — multiple finishes | Any room, track system |
| Styrofoam (polystyrene) planks | $1–$2 | Very light | Yes — paintable | Budget projects, rentals |
| Plywood strips (ripped to 6”) | $0.75–$1.50 | Medium | No — needs full finish | Ultra-budget farmhouse |
Pine tongue and groove planks are the most popular choice for covering popcorn texture because they interlock tightly, hide gaps, and create a clean line pattern. Cedar adds a natural scent and moisture resistance — a good fit for bathrooms.
Safety: Asbestos and Structural Checks
Homes built before the 1980s may have asbestos in the popcorn texture. Nailing through the surface creates small punctures that can release fibers. Test before installation — DIY kits cost $40–$150 and professional testing runs $250–$850.
If asbestos is present, use a glue-only attachment method (styrofoam planks) or a track system that screws into the joists without penetrating the textured layer directly. Both avoid disturbing the asbestos material.
Check ceiling joist capacity before adding heavy planks. Solid pine and cedar add weight. Lightweight MDF, styrofoam, and plywood strips are safer for older ceilings or homes with limited joist support.
Tools and Materials for a Plank Ceiling Over Popcorn
Tools:
- Miter saw — for cutting planks to length.
- Nail gun with 2-inch brad nails — for securing planks to ceiling joists.
- Stud finder — for locating joists through the popcorn texture.
- Measuring tape, pencil, and speed square — for accurate layout.
- Orbital sander — for smoothing raw wood before priming.
- Rubber mallet — for tapping tongue and groove joints tight without splitting.
- Aluminum step ladder, folding tables for cutting station, exacto knife, and hammer.
Materials:
- Wood ceiling planks: Pine tongue and groove planks (3.5-inch or 3.25-inch width), knotty spruce pine edge v-plank boards, or cedar planks. Order 10–15% extra for cuts and waste.
- Primer: BIN shellac primer for raw wood. Seals knots and prevents bleed-through.
- Paint: Cloverdale Paint pure white in eggshell sheen for a bright, wipeable finish. Fusion Mineral Paint products work well for a matte farmhouse look.
- Construction adhesive, spackling compound, wood caulk, and crown molding for finishing.
Step-by-Step: Install a Plank Ceiling Over Popcorn
Step 1 — Prep the Planks
Bring the wood planks into the room 48 hours before installation to acclimate to the humidity. Skipping this step causes gaps and warping after installation. Sand raw planks with an orbital sander. Apply BIN shellac primer to all surfaces including the tongue and groove edges.
Paint with two coats of Cloverdale Paint pure white or your chosen color. Pre-painting before installation is the key to getting full coverage in the grooves.
Step 2 — Find and Mark the Ceiling Joists
Use a stud finder to locate every ceiling joist. Mark each one with a chalk line across the full ceiling width. Joists run every 16 or 24 inches on center. The planks must nail into the joists — not just the drywall or the popcorn texture.
If the popcorn is too thick for the stud finder to read through, tap across the ceiling with a hammer and listen for the solid thud of a joist versus the hollow sound of empty drywall.
Step 3 — Install the First Plank Level and Straight
Start along one wall. Measure the room width at multiple points — ceilings are rarely square. Cut the first plank to length with the miter saw. Apply a zigzag bead of construction adhesive to the back.
Press it against the ceiling with the groove edge facing the wall. Check with a level. Nail into each joist crossing with the brad nailer. The first plank sets the line for the entire ceiling.
Step 4 — Lock and Nail Row by Row
Slide the tongue of the next plank into the groove of the installed plank. Tap tight with the rubber mallet. Apply adhesive and nail at each joist. Stagger the end joints by at least 12 inches so seams do not line up. Use clamps to hold planks tight against the ceiling while nailing on thick popcorn surfaces.
Step 5 — Cut Around Fixtures
Mark light fixture, ceiling fan, vent, and smoke detector locations on the plank. Cut openings with a jigsaw. Cut conservatively and trim more if needed — wood cannot be added back. Reinstall fixtures through the planked surface once the board is secured.
Step 6 — Finish the Edges and Fill Holes
Install crown molding or 1×4 trim along the wall-ceiling border to cover expansion gaps. Fill nail holes with spackling compound. Caulk all trim joints with wood caulk. Touch up filled spots with matching paint.
Three Installation Methods for Ceiling Planks Over Popcorn
Method 1 — Adhesive + Nailing (Most Common)
Apply construction adhesive to the back of each plank and nail into ceiling joists with a brad nailer. This is the standard method for a plank ceiling over popcorn using pine, cedar, or spruce planks. The adhesive fills gaps between the uneven popcorn surface and the flat plank back. The nails provide structural hold.
Method 2 — Track System (No Direct Nailing Into Popcorn)
A track system use metal tracks screwed into the joists. Clips snap into the tracks and hold the planks in place. The planks never touch the popcorn directly. This method is ideal for asbestos-containing ceilings because the tracks only create small screw holes at joist locations — far less disturbance than full-surface nailing.
Method 3 — Direct Glue (Lightweight Planks Only)
Styrofoam ceiling planks and some ultra-light MDF panels attach with specialized adhesive alone. Press the plank against the popcorn surface and hold for 30 to 60 seconds. No nailing required. This is the fastest method and the safest for ceilings with confirmed asbestos.
The downside: glue-only holds are weaker than nailed connections and may loosen in high-humidity rooms.
2026 Cost Breakdown: Plank Ceiling Over Popcorn
| Item | Cost Range |
| Pine tongue and groove planks (150 sq ft room) | $225–$450 |
| Cedar planks (150 sq ft room) | $450–$1,200 |
| Styrofoam planks (150 sq ft room) | $150–$300 |
| Primer + paint | $50–$120 |
| Construction adhesive + nails | $25–$60 |
| Crown molding + trim + caulk | $40–$100 |
| Total DIY (average room, pine planks) | $400–$750 |
| Professional installation | $5–$8 per sq ft |
Compare these numbers to full popcorn ceiling removal at $1.50–$8+ per square foot (more with asbestos). Wood ceiling planks cost the same or less while adding design value that a smooth ceiling does not deliver.
Common Mistakes DIYers Make with Plank Ceilings Over Popcorn
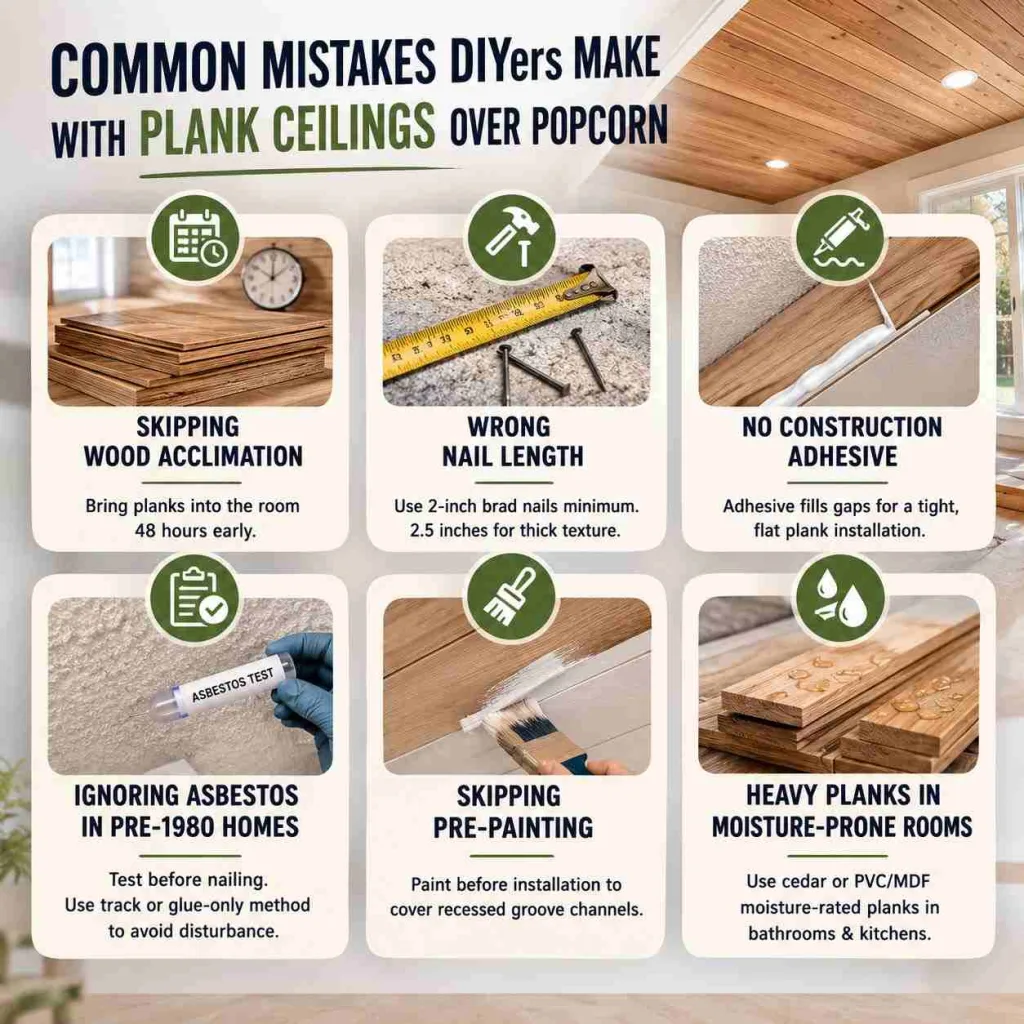
- Skipping wood acclimation: Planks expand and contract with humidity. Install them straight from the store and gaps appear within weeks. Bring wood into the room 48 hours early.
- Wrong nail length: Nails too short do not reach the joist through the popcorn layer and the drywall. Use 2-inch brad nails minimum. For thick popcorn texture, 2.5 inches works better.
- No construction adhesive: Nails alone do not hold planks tight against an uneven popcorn surface. The adhesive fills the gap between plank and texture for a solid, flat result.
- Ignoring asbestos in pre-1980 homes: Test before nailing into the ceiling. A track system or glue-only method avoids disturbance entirely.
- Skipping pre-painting: Paint applied after installation misses the recessed groove channels where planks overlap. Those unpainted lines show up as dark stripes across the ceiling.
- Heavy planks in a moisture-prone room: Solid wood absorbs moisture in bathrooms and kitchens. Use cedar (naturally moisture resistant) or PVC/MDF moisture-rated planks in wet rooms.
Frequently Asked Questions
Q. Can you install ceiling planks directly over existing popcorn ceiling?
Yes. Lightweight wood planks, MDF panels, and styrofoam planks all install over popcorn without removal. Attach to the ceiling joists for structural hold, not just the drywall.
Q. Do wood planks need to be nailed into joists over popcorn?
Yes for solid wood and MDF planks. The joists provide the structural support. The popcorn surface and drywall alone cannot hold the weight of wood planks long-term. Styrofoam and ultra-light planks can use adhesive only.
Q. How much does a plank ceiling over popcorn cost?
$400 to $750 DIY for an average room (150 sq ft) using pine tongue and groove planks. Cedar runs $450 to $1,200. Styrofoam is the cheapest at $150 to $300. Professional installation adds $5 to $8 per square foot for labor.
Q. What is the best plank material for a bathroom ceiling?
Cedar planks resist moisture naturally. Armstrong WoodHaven MDF planks with a moisture-resistant coating work in bathrooms with good ventilation. Avoid untreated pine — it absorbs water and warps.
Q. Will a wood plank ceiling increase home resale value?
Yes. A planked ceiling adds visible character that smooth drywall does not. Buyers see it as a finished design detail — not a cover-up. Farmhouse and modern rustic styles are strong in 2026 real estate markets.
Q. Is it better to plank over popcorn or remove it?
Planking is faster, cleaner, cheaper, and adds design value. Removal is better only when the popcorn is severely water-damaged, the ceiling is too low for the extra plank thickness (0.5–0.75 inches), or you want a perfectly smooth, flat finish.
Transform Your Ceiling This Weekend
A plank ceiling over popcorn is one of the highest-impact DIY projects you can do in a single weekend. The popcorn disappears. The room looks brighter, taller, and finished. And you skip the entire mess, cost, and asbestos risk of removal.
If you live in Austin and want professional help with ceiling planks, popcorn ceiling removal, or any ceiling renovation, CeilingPrime handles the work from start to finish.