Ceiling Water Damage: Signs, Causes, How to Repair & What to Do First
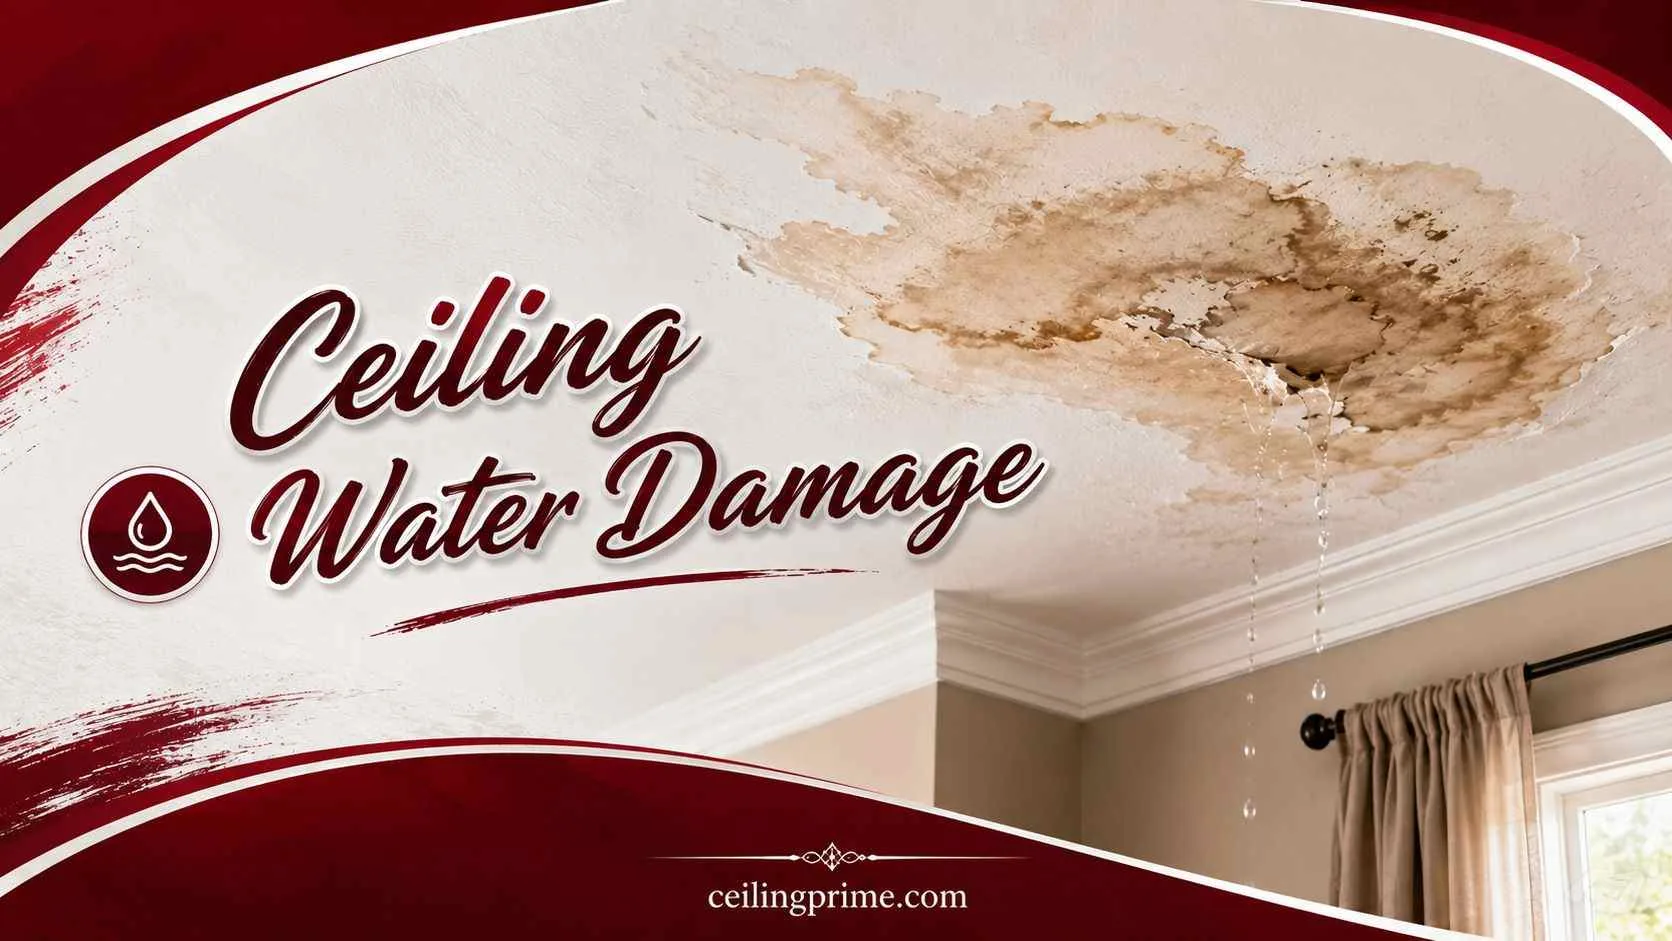
Ceiling water damage starts small — a faint brown ring, a slight bubble in the paint, a damp smell that was not there yesterday. Left alone, that small stain becomes sagging drywall, active mold growth, and a ceiling that collapses onto your living room floor. The window between “easy fix” and “major restoration project” is about 72 hours. After that, mold and mildew begin forming inside the wet drywall.
This guide covers the 5 warning signs, 6 common causes, exactly what to do in the first 60 minutes, step-by-step repair for minor and major damage, mold prevention, 2026 repair costs, insurance claim tips, and when to call a professional water damage restoration company.
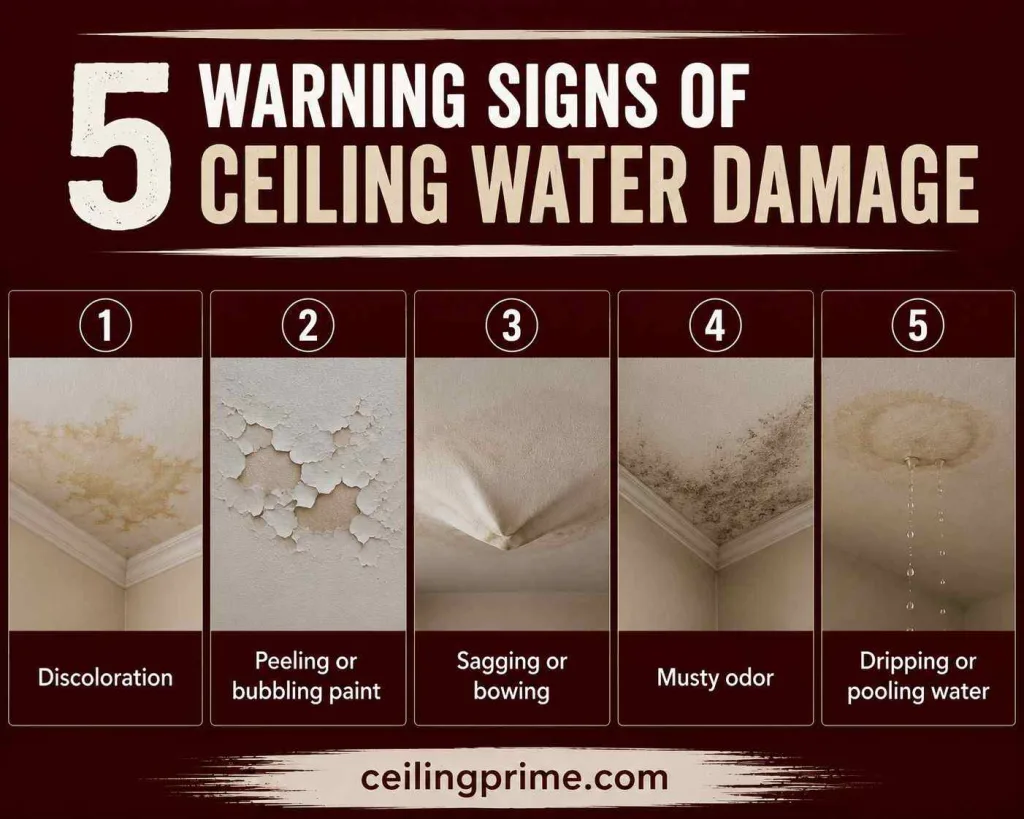
5 Warning Signs of Ceiling Water Damage
Catching ceiling water damage early saves thousands in repair costs. These are the 5 signs in order from earliest to most severe.
- Discoloration: Yellow, brown, or rust-colored rings or streaks on the ceiling surface. These water stains appear where moisture soaks through the drywall and dries. A single ring means one event (a spill, a storm). Growing or returning stains mean an active leak.
- Peeling or bubbling paint: Paint lifts away from the drywall when moisture collects behind it. Bubbles may feel soft or wet to the touch. This signals ongoing water exposure, not a one-time event.
- Sagging or bowing: The drywall bends downward under the weight of trapped water. A sagging ceiling is a structural warning — it can collapse without notice. Do not stand under a sagging section.
- Musty odor: A damp, earthy smell near the ceiling means moisture is trapped inside the drywall or insulation. Microbial growth (mold and mildew) begins within 72 hours of water contact and produces this odor before visible mold appears.
- Dripping or pooling water: Active dripping or a visible wet spot means the leak is current and the ceiling is saturated. Place a bucket under the drip and take immediate action.
6 Common Causes of Ceiling Water Damage
Fixing a water-damaged ceiling without finding the source guarantees the damage returns. These 6 causes account for most residential ceiling water damage cases.
1. Leaky pipes: A dripping pipe in the bathroom, kitchen, or laundry room above the affected ceiling is the most common cause. Check under sinks, around toilets, behind washing machines, and at P-trap connections for cracks or slow drips. Burst pipes cause sudden, heavy damage. Slow leaks cause gradual staining over weeks or months.
2. Roof leaks: Damaged or missing shingles, cracked flashing around chimneys and vents, deteriorated roof vent boots, and ice dam buildup in winter let water into the attic. The water travels along rafters and trusses before dripping onto the ceiling below — sometimes far from the actual roof entry point.
3. Clogged gutters: Blocked or sagging gutters cause water to pool and backflow under the roofline, into the soffits, and onto the ceiling. This is common after heavy rain or fall leaf buildup.
4. Bathroom and kitchen condensation: Steam from hot showers, baths, and cooking rises to the ceiling. Without proper ventilation (exhaust fan), the moisture condenses on the cool ceiling surface and soaks into the drywall. This is the main cause of bathroom ceiling water damage and mold.
5. Overflowing fixtures: A toilet overflow, bathtub left running, or backed-up drain sends water across the floor and through the subfloor to the ceiling below. This produces sudden, heavy damage.
6. HVAC and dryer vent condensation: A clogged HVAC condensate drain line or a dryer vent that terminates in the attic instead of outside creates moisture buildup that drips onto the ceiling.
What to Do in the First 60 Minutes After Ceiling Water Damage?
Speed matters. The faster you act, the less damage you get. Follow these 7 steps the moment you notice ceiling water damage.
- Step 1 — Stop the water source: Turn off the main water supply if the leak is from plumbing. Place a tarp over the roof if it is a roof leak and rain is active. Fix the immediate source before anything else.
- Step 2 — Move furniture and belongings: Clear everything from under the damaged area. Water can drip or the ceiling can collapse without warning.
- Step 3 — Place buckets under drips: Catch active water to prevent floor damage.
- Step 4 — Poke a small drain hole: If the ceiling is sagging or bulging, poke a small hole in the center of the bulge with a screwdriver or utility knife. Aim into a bucket. This relieves the water weight and prevents a full ceiling collapse.
- Step 5 — Turn off electricity: If water is near light fixtures, ceiling fans, or electrical outlets, shut off the circuit breaker for that room. Water and electricity together create a shock and fire hazard.
- Step 6 — Start drying: Set up fans aimed at the wet area. Open windows. Run a dehumidifier. The goal is to dry the drywall within 48 hours to prevent mold.
- Step 7 — Document everything: Take photos and video of the damage from multiple angles. Record the date and time. This documentation is needed for insurance claims.
How to Repair Ceiling Water Damage (DIY Guide)
Here is how to repair ceiling water damage.
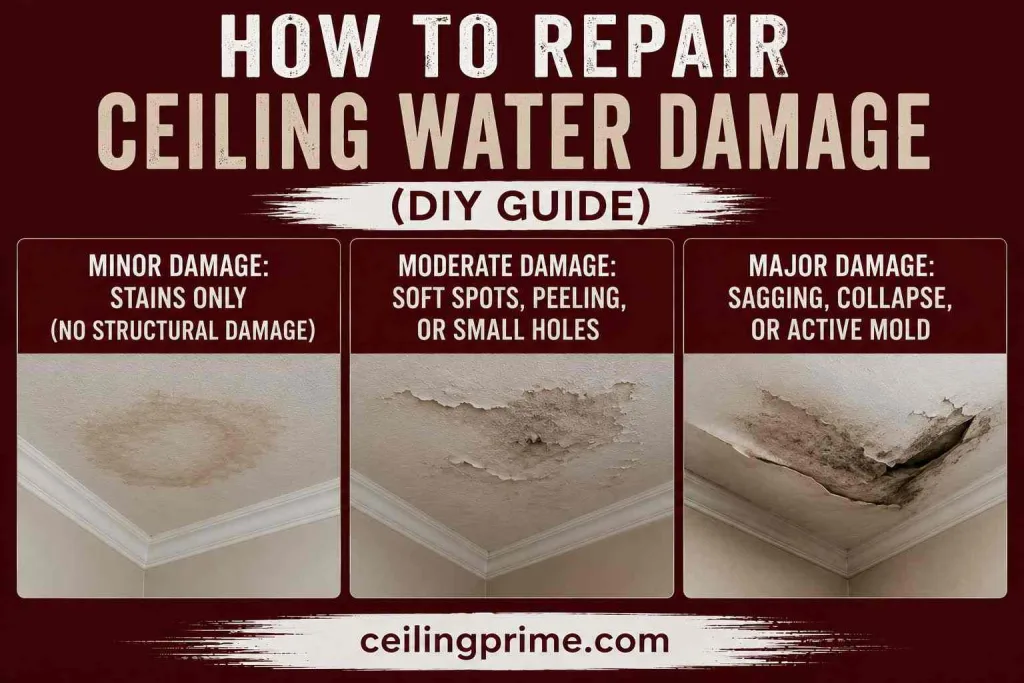
Minor Damage: Stains Only (No Structural Damage)
If the drywall is firm, not sagging, and the leak has been fixed and dried, the repair is cosmetic.
- Step 1: Let the ceiling dry completely — 24 to 48 hours with fans running.
- Step 2: Lightly sand the stained area with 120-grit sandpaper to remove loose paint and smooth the surface.
- Step 3: Apply stain-blocking primer (Kilz Original or Zinsser BIN) over the stain. Let dry 1 to 2 hours.
- Step 4: Paint with two coats of flat ceiling paint to match the surrounding area.
Moderate Damage: Soft Spots, Peeling, or Small Holes
- Step 1: Cut out the damaged section of drywall using a keyhole saw or utility knife. Cut back to the nearest joists on each side so the patch has something to screw into.
- Step 2: Let the exposed cavity dry completely. Check for mold on the joists and insulation. If mold is visible, treat with a mold-killing primer or call a professional for remediation.
- Step 3: Cut a new piece of drywall to match the opening. Screw it into the joists with drywall screws.
- Step 4: Apply drywall tape over the seams. Cover with joint compound. Let dry, sand smooth, and repeat for 2 to 3 coats.
- Step 5: Apply stain-blocking primer to the entire patched area. Paint to match.
Major Damage: Sagging, Collapse, or Active Mold
If the ceiling is sagging across a large area, has collapsed, or shows visible mold growth, call a professional water damage restoration company. Major ceiling water damage requires commercial-grade drying equipment, moisture mapping, and mold remediation protocols that go beyond DIY capabilities.
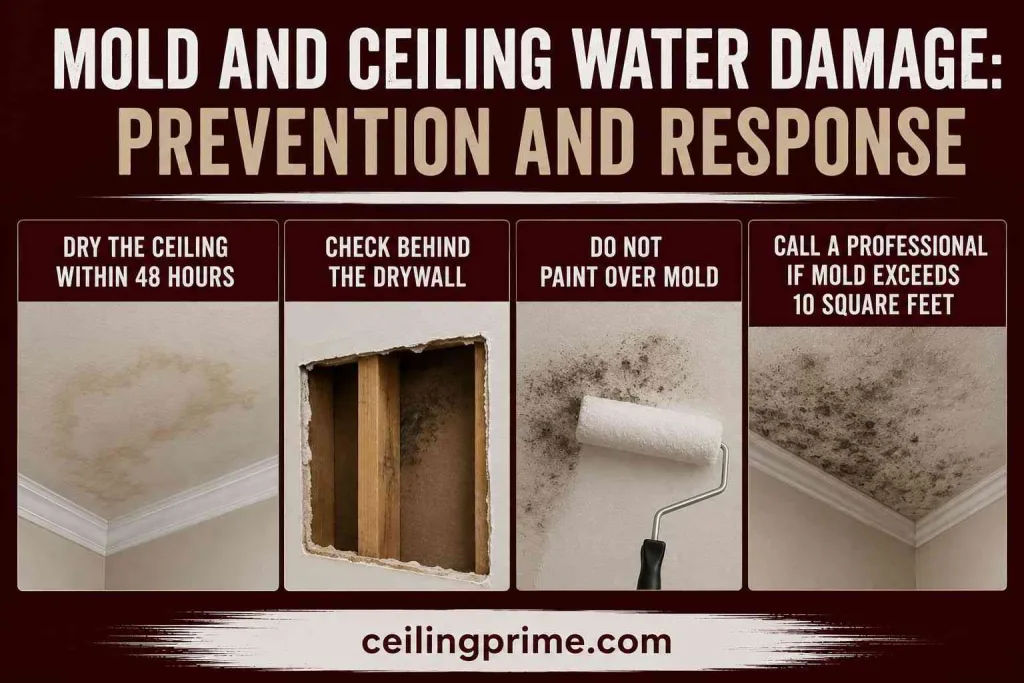
Mold and Ceiling Water Damage: Prevention and Response
Mold and mildew begin forming within 72 hours of water contact. Once mold takes hold inside the drywall, scrubbing the surface is not enough — the drywall must be cut out and replaced. Here is how to prevent ceiling water damage from becoming a mold problem.
- Dry the ceiling within 48 hours: Use fans, dehumidifiers, and open windows. Speed is the single most important factor.
- Check behind the drywall: After removing damaged sections, inspect the joists, insulation, and the back of surrounding drywall for mold. Gray, green, or black spots indicate active growth.
- Do not paint over mold: Paint does not kill mold. It covers the surface while the colony grows underneath. Always treat or remove moldy material before priming.
- Call a professional if mold exceeds 10 square feet: The Environmental Protection Agency (EPA) recommends professional remediation for mold areas larger than about 10 square feet.
Ceiling Water Damage Repair Costs in 2026
| Repair Type | 2026 Cost Range |
| Cosmetic repair (stain, prime, paint) | $150–$400 |
| Drywall patch (small section) | $200–$500 |
| Drywall replacement (full ceiling section) | $500–$2,500 |
| Mold remediation (ceiling area) | $1,000–$5,000 |
| Water damage restoration (professional) | $1,500–$8,000+ |
| Roof leak repair (source fix) | $300–$1,500 |
| Plumbing repair (source fix) | $150–$3,000 |
Source repair costs are separate from ceiling repair costs. A $200 cosmetic ceiling fix means nothing if the $800 roof leak is still sending water through the drywall.
Insurance Claims for Ceiling Water Damage
Most homeowner insurance policies cover ceiling water damage caused by sudden, accidental events — burst pipes, storm damage, appliance failures. They typically do not cover gradual damage from deferred maintenance (a slow leak you ignored for months, clogged gutters, or a worn-out roof).
- Document immediately: Take photos and video of all damage before cleanup. Note the date, time, and suspected cause.
- Contact your insurer within 24 hours: Most policies require prompt notification. Delays can reduce or void coverage.
- Get a professional inspection: A water damage restoration company can provide a detailed moisture assessment and damage report that supports your claim.
- Keep all receipts: Emergency supplies (tarps, fans, towels, dehumidifier rental), contractor invoices, and temporary housing costs may all be reimbursable.
- Do not make permanent repairs before the adjuster visits: Make temporary fixes to stop further damage (tarp the roof, shut off water) but wait for the insurance adjuster to inspect before cutting out drywall or repainting.
When to Call a Professional?
- The ceiling is sagging, bowing, or has collapsed.
- You see or smell mold.
- Water came from a sewage backup or toilet overflow (requires sanitation).
- The damage covers multiple rooms or extends into walls.
- You cannot locate the water source.
- Electrical wiring, recessed lights, or junction boxes are wet.
- The home was built before the 1980s and you suspect asbestos in the ceiling material.
How to Prevent Future Ceiling Water Damage?
- Inspect the roof twice a year: Check shingles, flashing, and vent boots in spring and fall.
- Clean gutters every 6 months: Remove leaves, debris, and check for sagging sections.
- Run bathroom exhaust fans during and 20 minutes after every shower.
- Check plumbing connections annually: Look under sinks, behind toilets, around water heaters, and at washing machine hoses.
- Install a water leak detector: Battery-powered sensors placed under sinks, near water heaters, and in the attic alert you to leaks before damage becomes visible on the ceiling.
Frequently Asked Questions
Is ceiling water damage dangerous?
Yes. A saturated ceiling can collapse, causing injury. Mold from untreated water damage causes respiratory issues, allergies, and asthma flares. Wet electrical wiring creates shock and fire hazards. Take all signs seriously.
Can I just paint over a water stain on my ceiling?
Only with stain-blocking primer first. Regular paint does not block tannin stains — the brown ring bleeds through within days. Use Kilz Original or Zinsser BIN primer before painting.
How long does it take for ceiling water damage to cause mold?
Mold can begin growing within 48 to 72 hours of water exposure. Visible colonies may take 1 to 2 weeks to appear, but spores are active before you can see them.
Who do I call for ceiling water damage?
Call a water damage restoration company for drying, assessment, and repair. Call a plumber if the source is a pipe. Call a roofer if the source is the roof. For mold over 10 square feet, call a mold remediation specialist.
Does homeowner insurance cover ceiling water damage?
Yes for sudden, accidental damage (burst pipes, storm leaks, appliance failures). No for gradual damage from neglected maintenance (slow leaks, worn roofing, clogged gutters). File your claim within 24 hours and document everything.





3 Comments